See also some newer slides
Setting up
This section describes how to set up Eclipse and Odysseus for development.
1. Prerequisites
You will need the following tools:
- Java 11 OpenJDK
- Eclipse for RCP and RAP Developers (Important! Do not use a standard eclipse version!)
- GIT client (you can use git from command line or with a tool of your choice)
2. Checkout Source Code
There are different ways to create new functionality with Odysseus. The first way should be used if you want to add something new to Odysseus (e.g. a new wrapper) but do not want to change the common code base. This should be the preferred way of development with Odysseus:
Option 1: Extending Odysseus with New Plugins
Odysseus has a very large code base. To allow a lightweight start, we provide a template project in our Bitbucket server. You should clone or fork this project and use it to add new plugins to this template. The template can be found here: https://git.swl.informatik.uni-oldenburg.de/projects/ODY/repos/odysseusrepotemplate/browse . When using git you should use the following command to clone Odysseus. The template contains some standard products and the target platform as a submodule. The "--recurse-submodules" flag clones this submodule when cloning the repository. Alternatively, you can clone the submodule individually.
git clone --recurse-submodules https://git.swl.informatik.uni-oldenburg.de/scm/ody/odysseusrepotemplate.git newRepo
cd newRepo
cd odysseus_dev
git checkout master
Remark: because you are not allowed to push updates to the template repository you should change your repository URL to your git location and rename your folder to your new repository name.
// in your newRepo Folder!
git remote set-url origin <new url>
Option 2: Extending an Existing Odysseus Plugin
You want to extend an existing plugin from Odysseus? Then, instead of cloning the empty template from Option 1, clone the repository of the plugin you want to develop on. If the plugin is hosted in our Bitbucket, you can probably find it in one of the projects in this list: https://git.swl.informatik.uni-oldenburg.de/projects . Look for example at the Odysseus, the Odysseus Incubation and Odysseus Wrapper projects. When you have found the repository you want to use, check it out and don't forget to clone the submodule to get the target platform definition and the standard products:
git clone --recurse-submodules <your repo URL>
cd <repo>
cd odysseus_dev
git checkout master
Remark: There could be some updates in odysseus_dev that is not already reflected in each module. So it is always a good idea to update the odysseus_dev submodule to the newest version.
If you missed the --recurse-submodules, you can also use:
git clone <your repo URL>
cd <repo>
git submodule init
git submodule update
cd odysseus_dev
git checkout master
cd ..
git remote set-url origin <new url>
3. Setup Eclipse
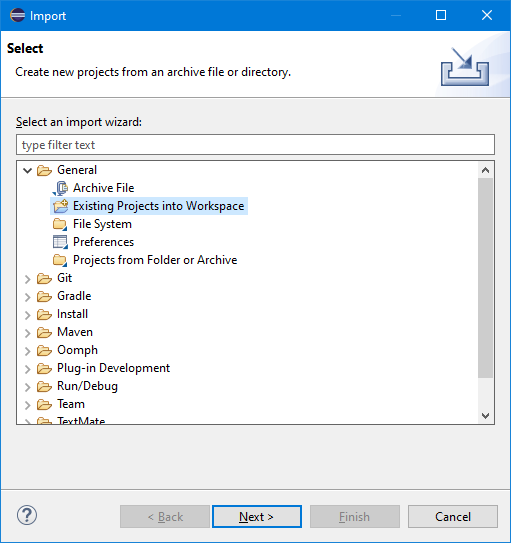
After Eclipse started, you have to import all bundles (these are the parts of Odysseus and are equal to an Eclipse project). Use "File -> Import -> Existing Projects into Workspace" to import them into Eclipse as follows:
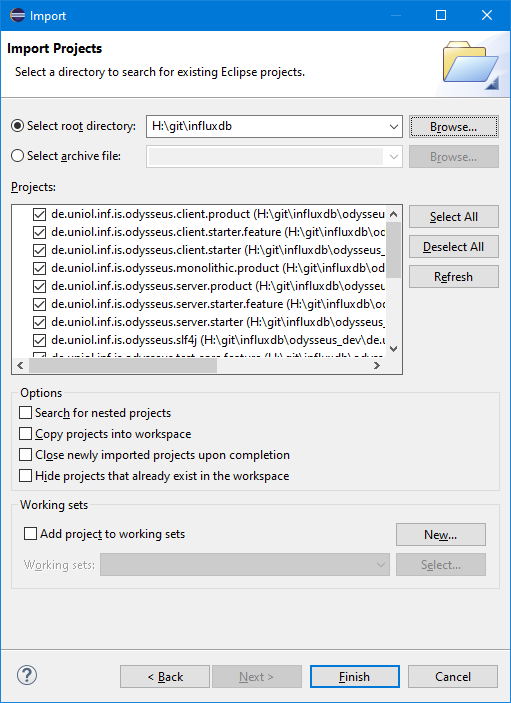
After clicking "Next", select all needed projects.
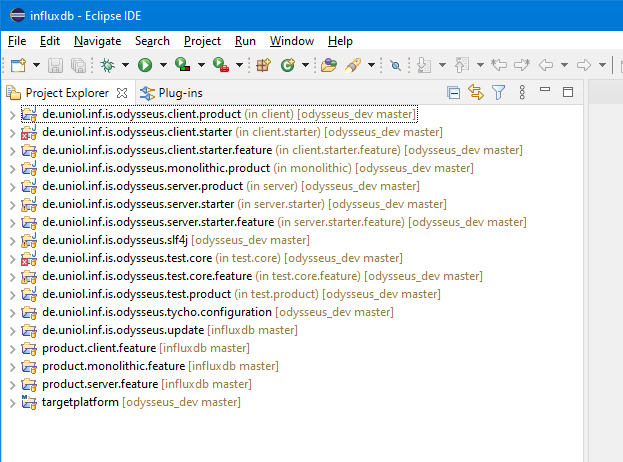
Now there are many project already opened:
Most of them are from odysseus_dev.
The source code folder has the following subfolders:
- client: contains all bundles that run on the client and don't have any dependencies to the server directly. It mainly offers the GUI.
- common: this holds common stuff and utilities that are needed on both server and client. Common does not have any dependencies to other folders like server, client...
- monolithic: this folder contains bundles that will only work in a monolithic system where server and client are the same product
- resource: possibly some resources for the bundle, but probably empty. The resources are part of the target platform and are downloaded automatically by Eclipse when settings the target platform.
- server: this is the server part of Odysseus and contains Odysseus main functionalities. Except of common, it does not have any dependencies to other folders. It does not have any GUI or client functionalities.
- test: contains stuff for testing and benchmarking
4. Target Platform
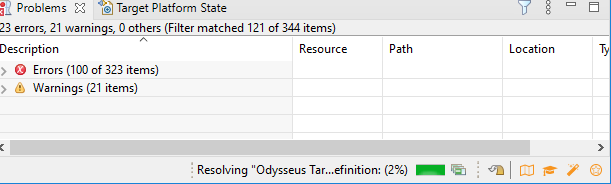
You now see a lot of compiler error. This is because the target platform ist not set.
The target platform can be found in the project targetplatform.
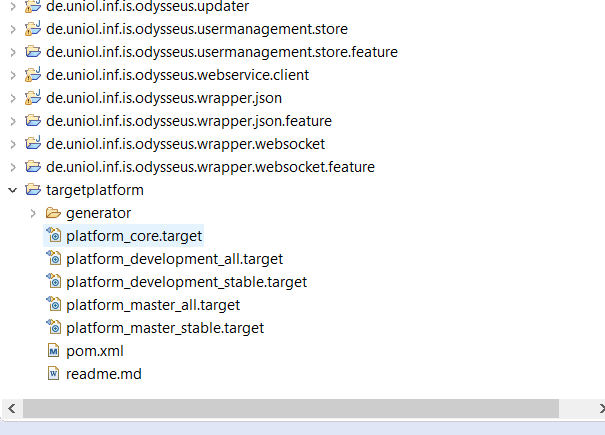
Choose the correct Targetplatform for you work.
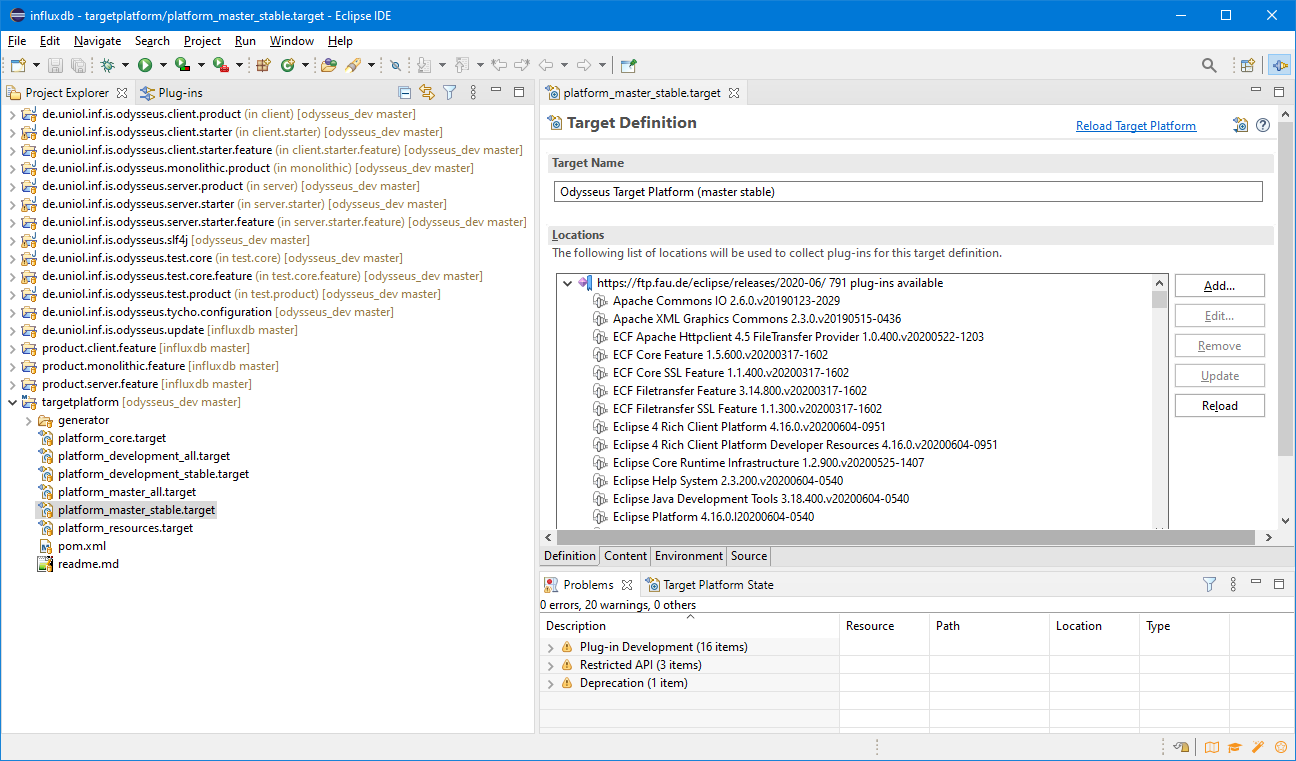
Remark: It works best, when you first open the file (double click) and wait some time (until the platform is resolved).
Click "Set as Active Target Platform" to use this as your target platform.

After that, the project will be compiled and there should not be any errors anymore.
If there are still errors, you should try to update the odysseus_dev folder (sometimes there are errors with the sites, that dliver target platform contents)
5. First Run - Available Products
Now you should be able to run Odysseus. There are some predefined product-definitions to run Odysseus. Depending on the bundles/folders you checked out before they can differ, but the standard submodule should contain three products:
- Odysseus Server - (located in de.uniol.inf.is.odysseus.server.product) - This is just a server-based instance of Odysseus (without any GUI) which can be used e.g. via a REST.
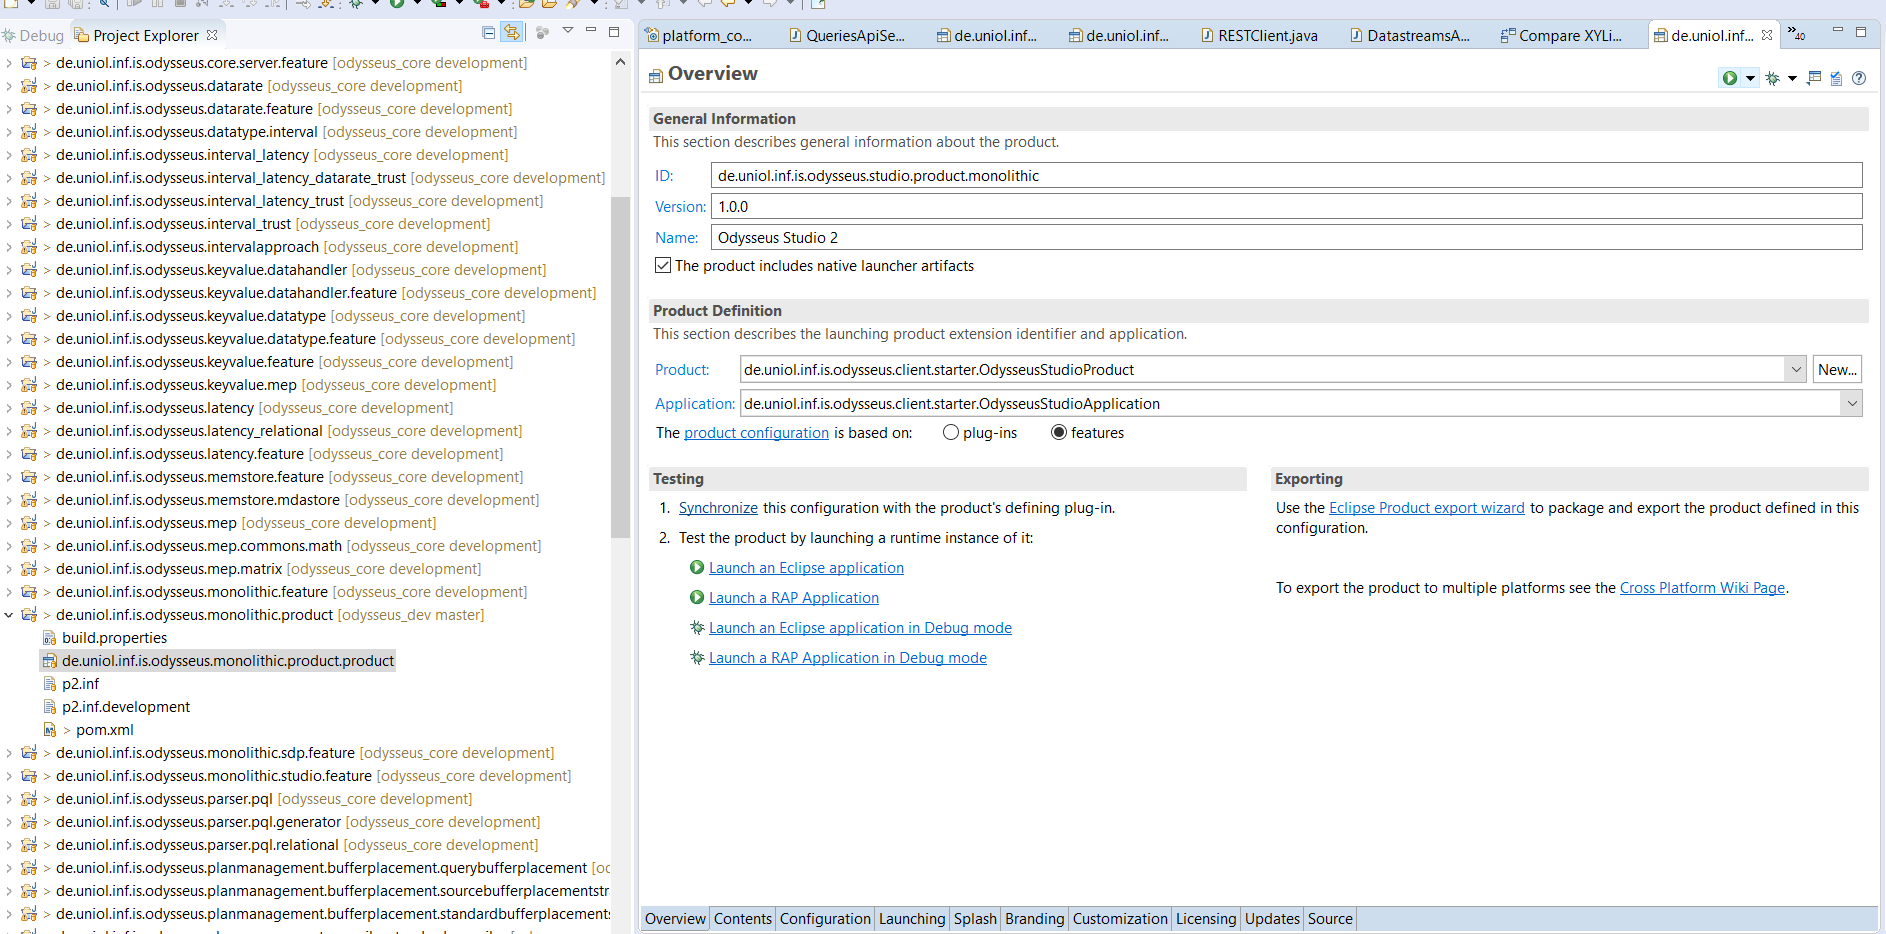
- Odysseus Studio 2 (Client) - (located in de.uniol.inf.is.odysseus.client.product) - This is only the client part (GUI), which tries to connect to an Odysseus Server instance via webservice.
- Odysseus Studio 2 - (located in de.uniol.inf.is.odysseus.monolithic.product ) - This combines server and client into a single product and adds some additional bundles that only work in such a monolithic combination.
For your first run, the easiest way is to start the "Odysseus Studio 2 (Monolithic).product". Open this file and go to the tab "Overview". Click "Synchronize" under "Testing" and afterwards click "Launch an Eclipse application" to run Odysseus (you can alternatively run it in debug mode if you want). When Odysseus Studio (the GUI) comes up, you have to insert some credentials. A default user is "System" and the password is "manager", the tenant can be left empty. Now Odysseus should be up and running.
6. Additional Information
Features
Since Odysseus is an OSGi based application, it is divided into several bundles (the bunch of projects you checked out and imported before). To keep the overview of all bundles, they are combined to features. Each feature reflects a special functionality of Odysseus. Thus, we have a core.feature that encapsulates all minimal needed bundles or the studio.feature that contains all bundles for the RCP (i.e., GUI) of Odysseus (what we call Odysseus Studio). The combination of several features is called a "product" - which should be runnable. The section above, for example, lists three products that combine different sets of features.
The core feature is necessary because it contains all fundamental functions for Odysseus. Here's a list of Odysseus Features: Features. See Adding features to products how to add a new Feature to an existing product.
Logging
Odysseus comes with the Simple Logging Facade for Java (SLF4J). To use logging, add the de.uniol.inf.is.odysseus.slf4j bundle. In this bundle you can find the log4j.properties to configure the logging behavior.