This is a short tutorial that shows how to install Odysseus and how to setup the first time. This tutorial is for persons who just want to use Odysseus for data stream management. For those, who want to develop with Odysseus (e.g. create new operators or extend functionalities), may have a look at Development with Odysseus, which introduces how to import Odysseus into Eclipse.
1. Prerequisite
First, Java 1.7 must be installed, which you can download here: http://www.java.com
2. Download Odysseus
Go to Odysseus Website to the Download section. You can choose between a stable version, which is stable but may not be the latest version, or you choose a nightly build which consits the latest fixes and is built each day at midnight. Choose the Version for your operating system in a 64 or 32 bit version. In our case, we have a 64 bit Windows 7 so that we choose Windowx x86 64 bit. Download the archive.
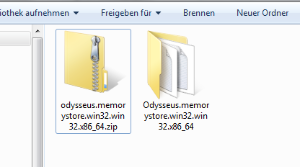
3. Unzip
Next, you have to unzip the archive. There is no installer nor a dedicated installation directory. Thus, you can choose a destination of your choice. After unpacking, you may have something like the following:
4. Start Odysseus
Run "studio.exe" to start Odysseus.
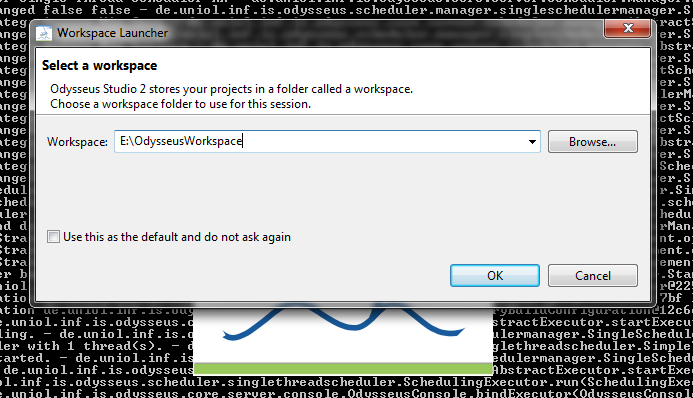
5. Choose Workspace
At the first start, you have to choose a workspace. This workspace is a directory where all Odysseus projects will be stored.You can also check the "Use this as the default.." option so that this dialog will not pop up at the next start of Odysseus.
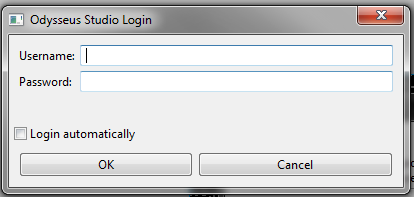
6. Login
Next, Odysseus asks you for a user and a password. The default user is "System" with password "manager". You can also check "Login automatically" so that username and password is saved and used automatically at the next start so you don't have to type in your login data again. In some cases there may be a field "Tenant". For most cases this field should be empty.
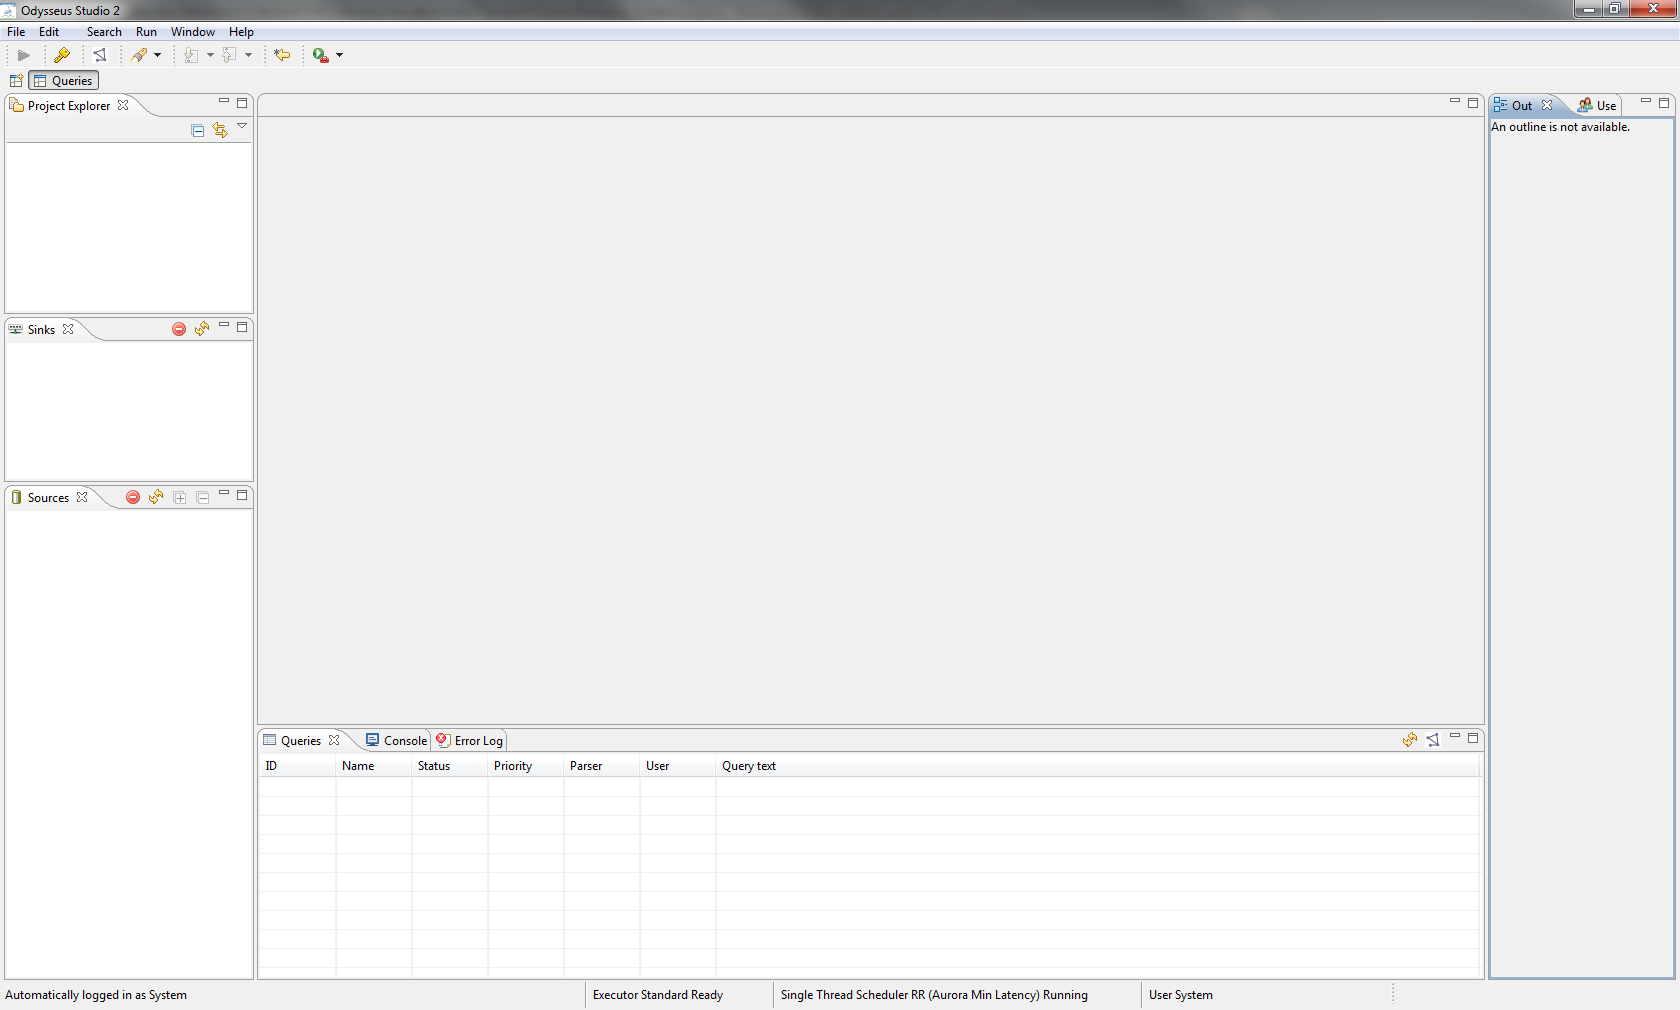
After that, Odysseus Studio starts, so you should the the interface:
That's all.
7. Next steps
You now can use Odysseus. Now, you can, for example, make yourself familiar with Odysseus Studio or you may create or import projects. For further steps, you may have a look at these pages:
- Odysseus Studio introduces the interface, views and commands
- Run Nexmark Example shows a tutorial how to run an example that is based on the Nexmark benchmark, including a data generator.
- Hands on Data Stream Processing shows different tutorials how Odysseus can be used in different projects - including special hardware
A. Hints if installation/start fails
- Java 1.7 (or sometimes called Java 7) has to be used. Although Java 1.7 was installed, it may happen that Java 1.6 is still used. Therefore, check if 1.7 is used. Check also, if JAVA_HOME is set correctly.
- On windows, you can check the version by open the command line to tool (go on "start", and "run" and enter "cmd", then press OK. In the command line enter "java -version" and hit enter. You should see some lines beginning with "java version "1.7.XXXX". if command is not found or another version is shown, check your Java installation.
- On MacOS X, you can use the Terminal (use the spotlight to open it) and enter "/usr/libexec/java_home -t BundledApp". You should see something a path containing a number like ".../JavaVirtualMachines/1.7.0.jdk/..." - if not or the path contains 1.6.0.jdk, your system does not use the correct Java version.
- Be sure you downloaded the x86_64 version if you have a 64 bit operating system or the x86 version if you have a 32 bit operating system.