...
See Getting Started with Nexmark for information about nexmark.
2. Open Odysseus
Next, open Odysseus. If you don't have Odysseus installed yet, have a look here: How to install new features.
Important: As CQL is no longer part of the core system you must install the CQL Feature.
3. Import Nexmark-Project
...
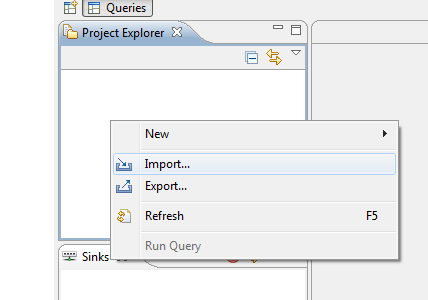
In Odysseus go to the "Project Explorer" and open "Import.." from the context menu (right click with your mouse).
Choose "Existing Project into Workspace" from the "General" folder and click on "Next". Choose "Select archive file" and "Browse..." for the downloaded "NexmarkProject.zip" in your filesystem. You should see "Nexmark" in the "Projects:" field like here:
...
Now you can use the sources, even for your own queries.
Remark: If you get an exception you should test, if the nexmark server up and running (Getting Started with Nexmark)
If you want to run the nexmark server on another computer you simply have to change the ip adress in NexmarkSources.qry.
5. Run Nexmark Example Queries
...
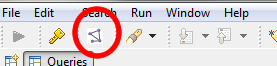
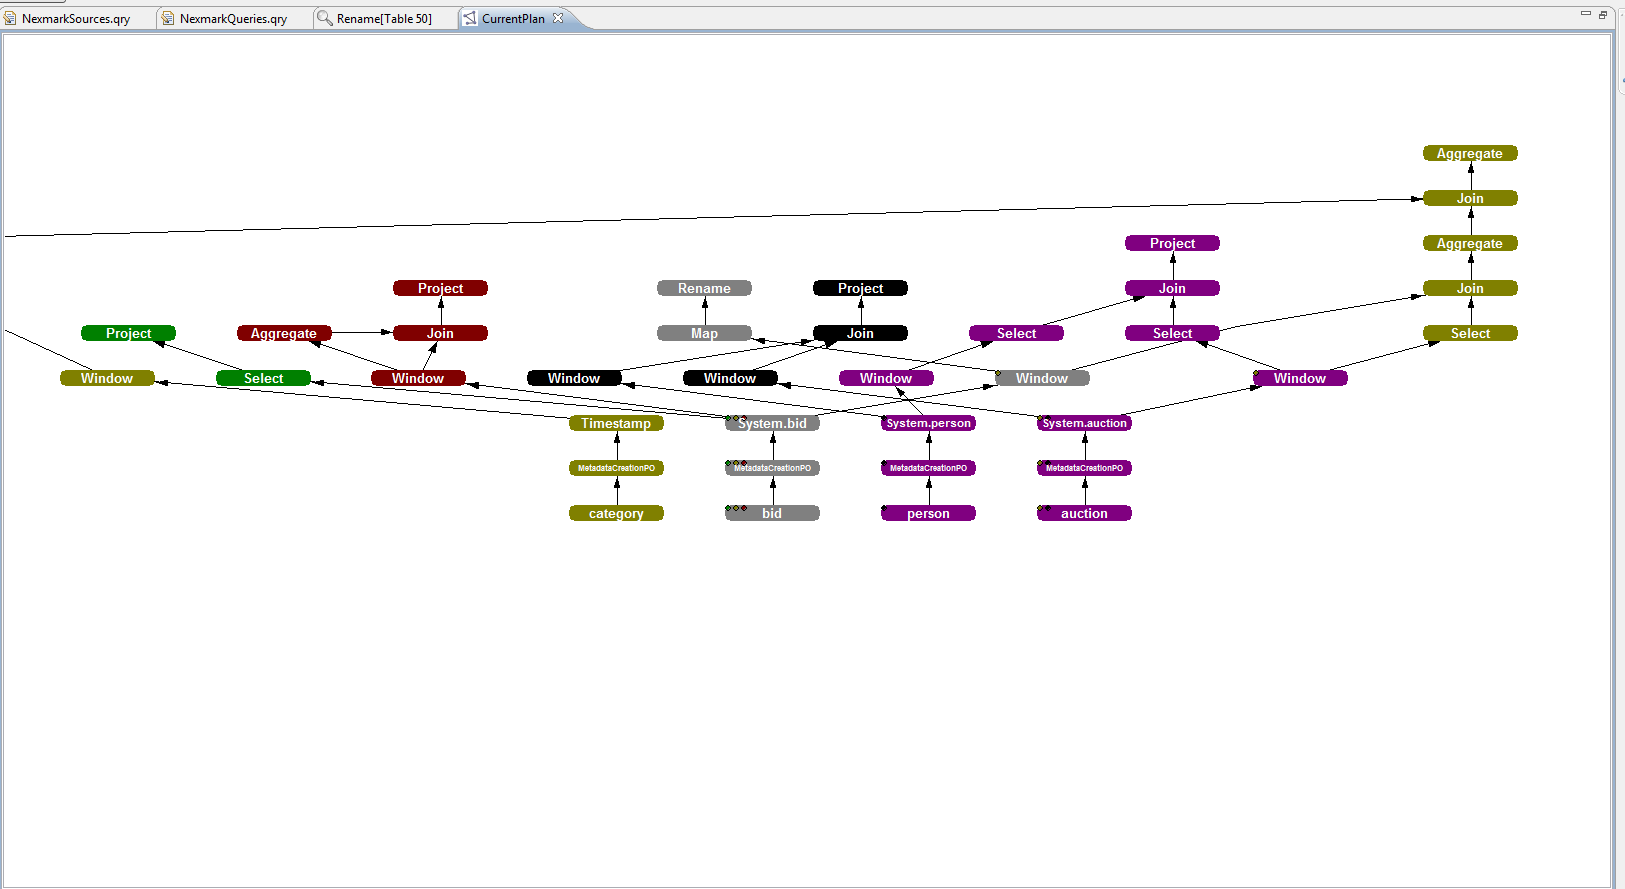
You can also have a look at the query plan to investigate the running operators by hiting the "Active graph" command:

Then you should get a view like:
That's all. Now you can, for example, express your own queries using Odysseus Script
See this tutorials for some examples projects explaning Odysseus.