...
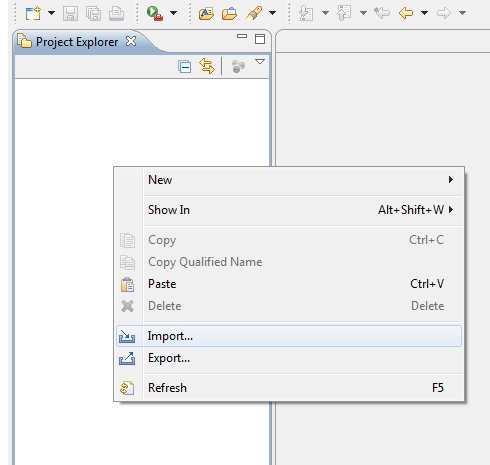
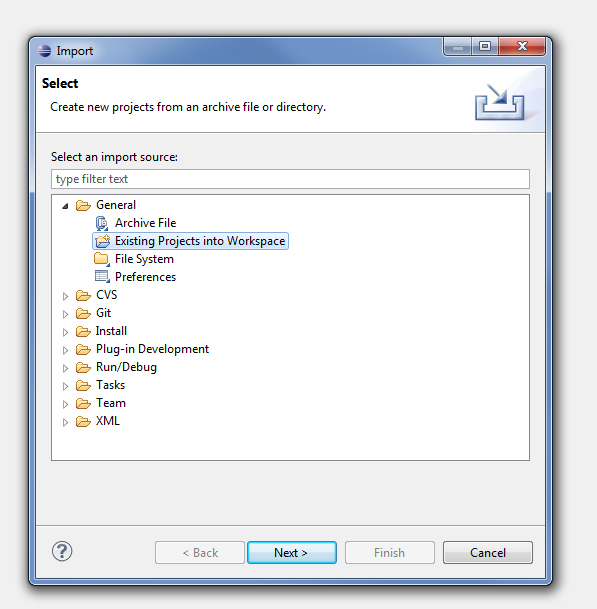
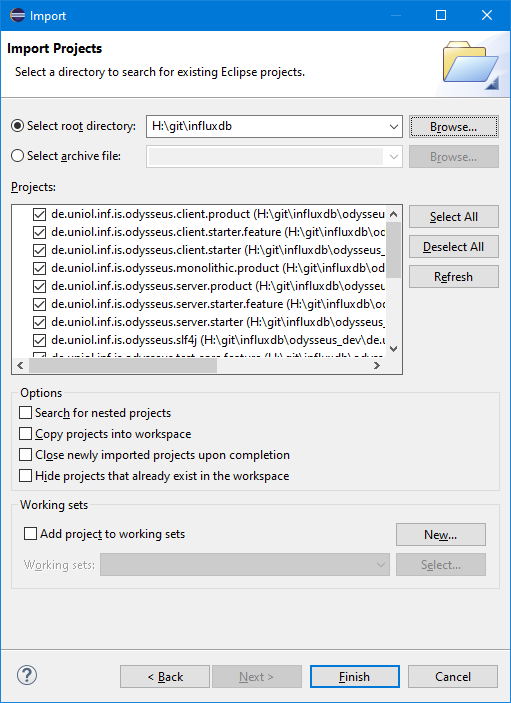
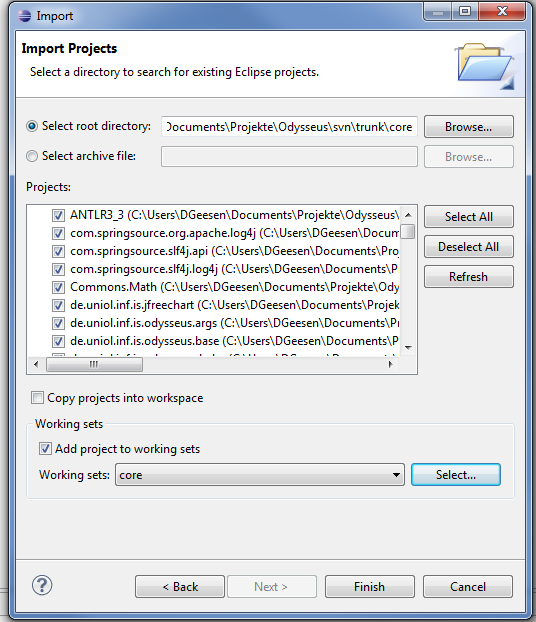
After Eclipse started, you have to import all bundles (these are the parts of Odysseus and are equal to an Eclipse project). Use "File -> Import -> Existing Projects into Workspace" to import them into Eclipse as follows:
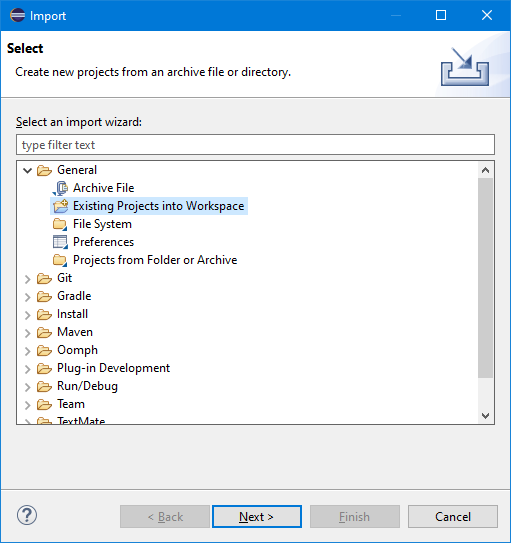
After clicking "Next", select all needed projects.
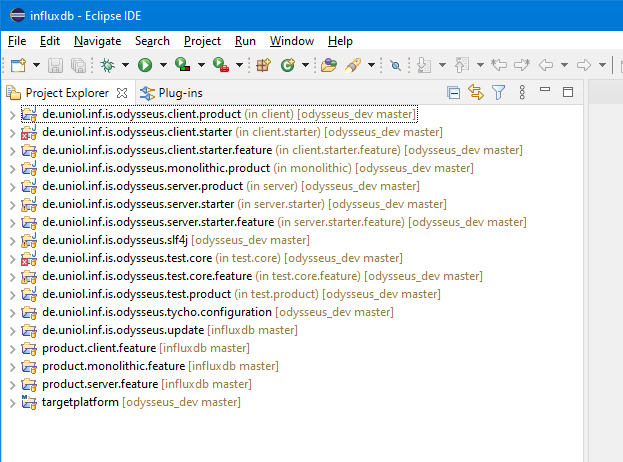
Now there are many project already opened:
Most of them are from odysseus_dev.
The source code folder has the following subfolders:
- client: contains all bundles that run on the client and don't have any dependencies to the server directly. It mainly offers the GUI.
- common: this holds common stuff and utilities that are needed on both server and client. Common does not have any dependencies to other folders like server, client...
- monolithic: this folder contains bundles that will only work in a monolithic system where server and client are the same product
- resource: possibly some resources for the bundle, but probably empty. The resources are part of the target platform and are downloaded automatically by Eclipse when settings the target platform.
- server: this is the server part of Odysseus and contains Odysseus main functionalities. Except of common, it does not have any dependencies to other folders. It does not have any GUI or client functionalities.
- test: contains stuff for testing and benchmarking
Furthermore, each main folder has different subfolders. Each subfolder normally contains a certain functionality or a dedicated extension (aka plugin for Odysseus).
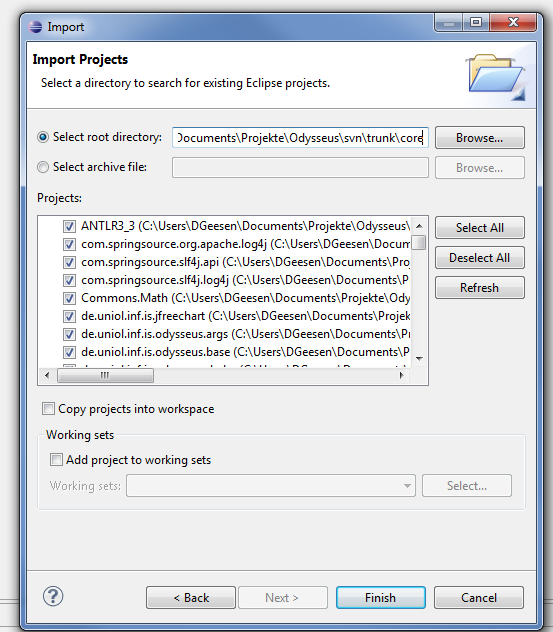
In the follwing screenshot some bundles are selected.
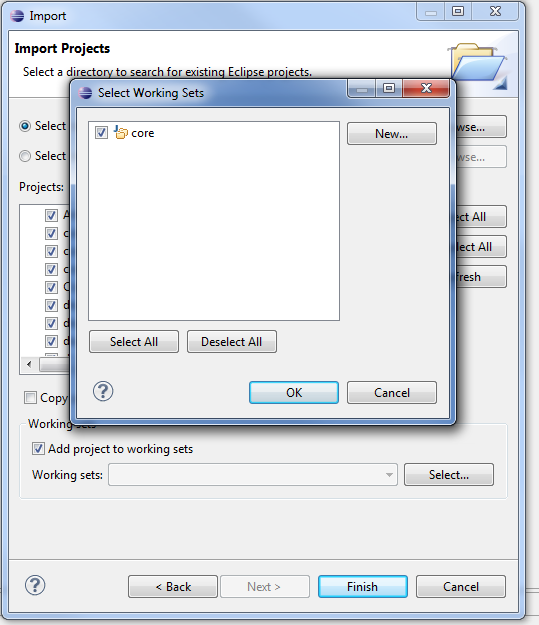
We recommend to create working sets like here to group certain bundles:
For Odysseus core development: We recommend to use a dedicated Eclipse workspace for Odysseus, because a full import of Odysseus may have more than 300 projects. The most simple way is as follows. If you are starting Eclipse for the first time, choose the folder where you checked out the source code as the workspace location. If you already have a workspace, you can switch it via "File -> Switch Workspace -> Other...".
4. Target Platform
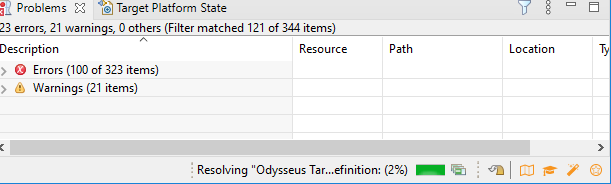
You probably only checked out the bundles you need, not the whole Odysseus core, resources and other stuff. All these things are part of the target platform and are loaded when setting the target platform for your workspace. Before you do that, you probably now see a lot of compiler errors. After you set the target platform, the errors should be goneerror. This definition is provided via because the " target -platform.target" file (hint: if you don't see the target platform as a project when importing, go back to the git checkout project and make sure you cloned the submodule)platform ist not set.
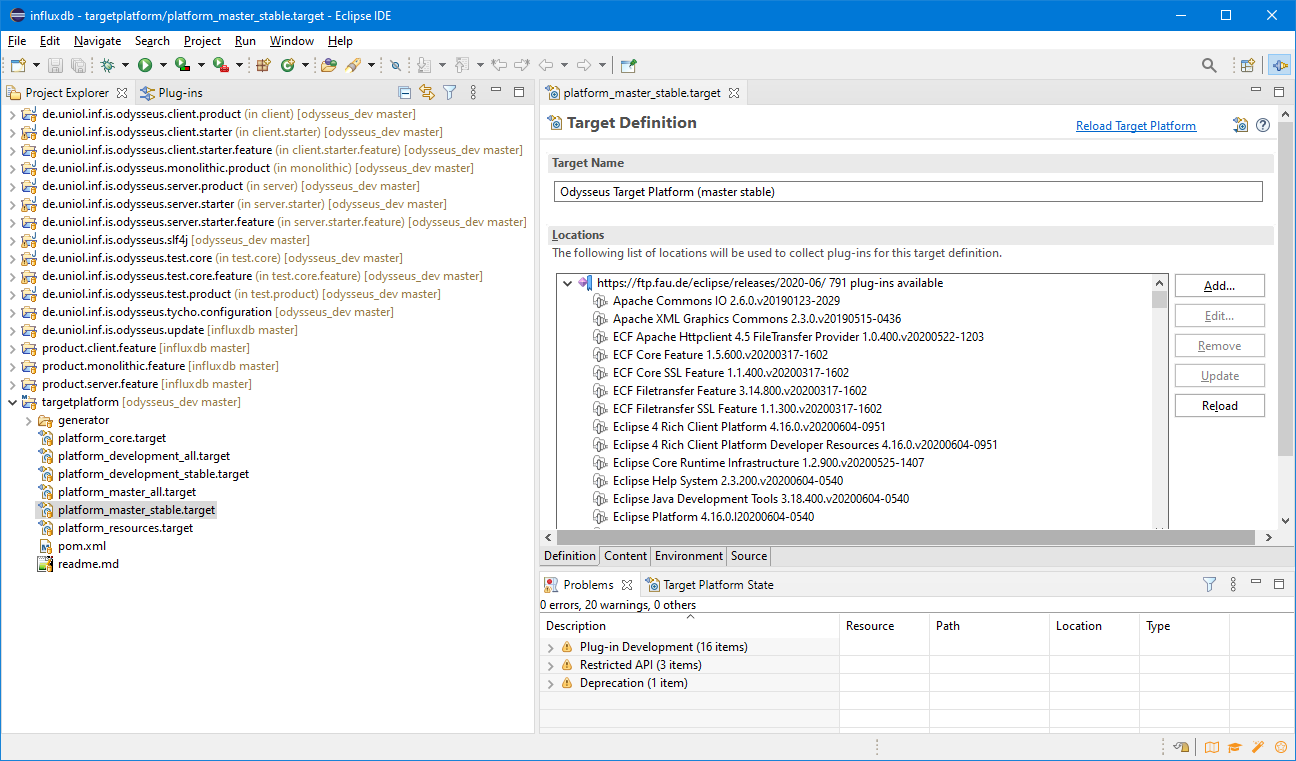
The target platform can be found in the project targetplatform.
...
Remark: It works best, when you first open the file (double click) and wait some time (until the platform is resolved).
Click "Set as target platformActive Target Platform" to use this as your target platform.

After that, the project will be compiled and there should not be any errors anymore.

If there are still errors, you should try to update the odysseus_dev folder (sometimes there are errors with the sites, that dliver target platform contents)Notice, the target platform is valid for your whole workspace (therefore we recommend to use a dedicated workspace for Odysseus development). Remark: Sometimes eclipse behaves strange when setting a new target platform. See Odysseus FAQ for further hints if there are problems with the target platform.
5. First Run - Available Products
...