This is beta!
Remark: In case, the webstudio will not start correctly, try to clear the local storage (https://www.leadshook.com/help/how-to-clear-local-storage-in-google-chrome-browser/)
Currently, we are working on a web based studio for Odysseus servers. This studio can access many different servers.
See below for installation issues.
After installation you could call the frontend e.g. with http://localhost:4200/ and then you will see the login screen. This is the login screen for WebStudio (not for Odysseus). Although, the default, if not changed, are "System" and "manager". too.

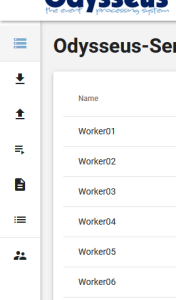
The next screen you see, is the list of connected servers. You will need to add servers manually. The list of connected servers will be stored for further sessions on the server of webstudio. The sceeen could look like:
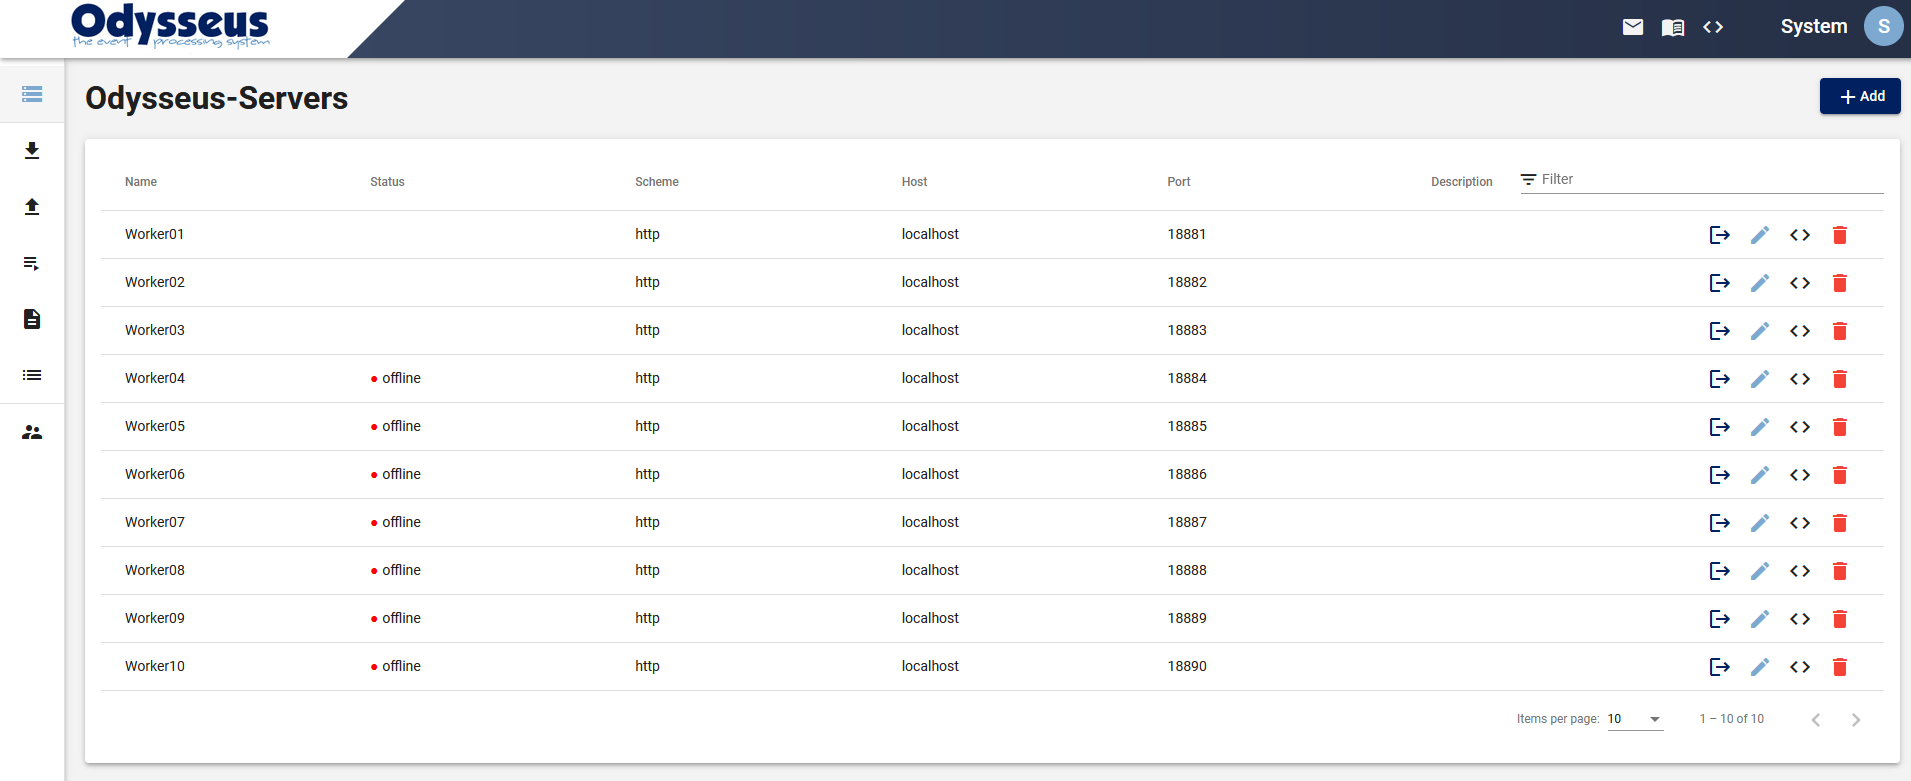
Where most of the servers are not connected ![]() When connected servers are available it looks like:
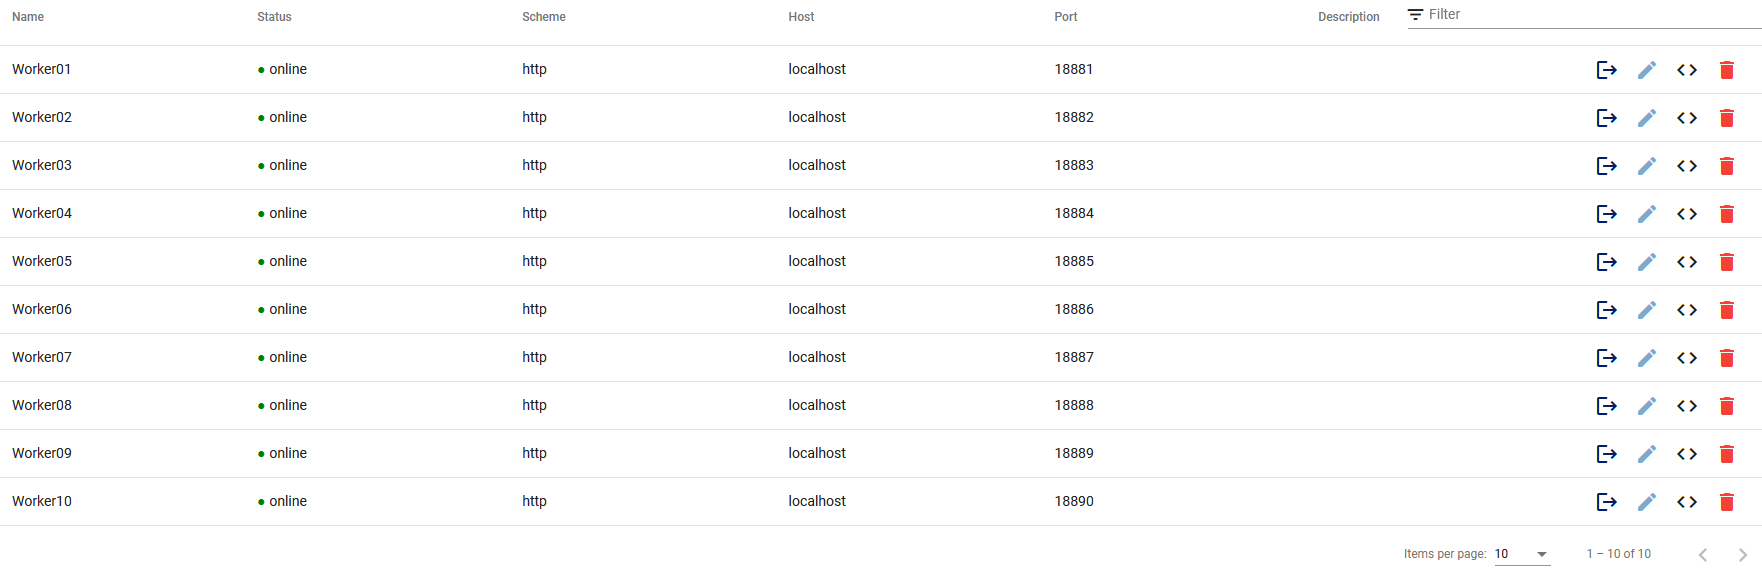
When connected servers are available it looks like:
To add a new server, use the Add button on the top right of the window:
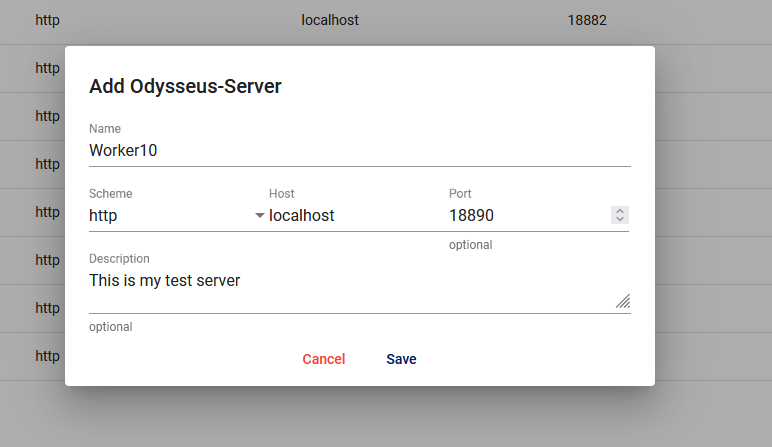
And the new server is added at the end of the list:

Maybe you will need to switch to the next screen, to see the server. Now you are connected to the server, but not logged in. Use the ![]() button to log in.
button to log in.
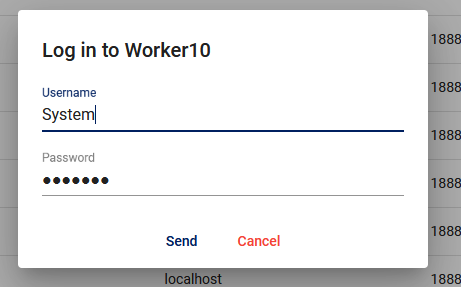
This is the login of the server you connected (default as always is "System"/"manager").
You will see the connected status with: ![]() . This button can be used to log out again.
. This button can be used to log out again.
With ![]() you could
you could
- edit the server information
- Call the Web-IDE for this server (see below)
- Remove the server from the list
Navigationbar
On the left side, you see the navigation bar:
Here you could see (from all servers in a common list) the
- Defined sources and streams
- Defined sinks
- Defined queries
- Logs from the different servers
- Lists: Due to a bug, this button may currently not work in any cases.
- Users from the Web-Studio. Here you can change the users of the web studio, especially change the password or add new users

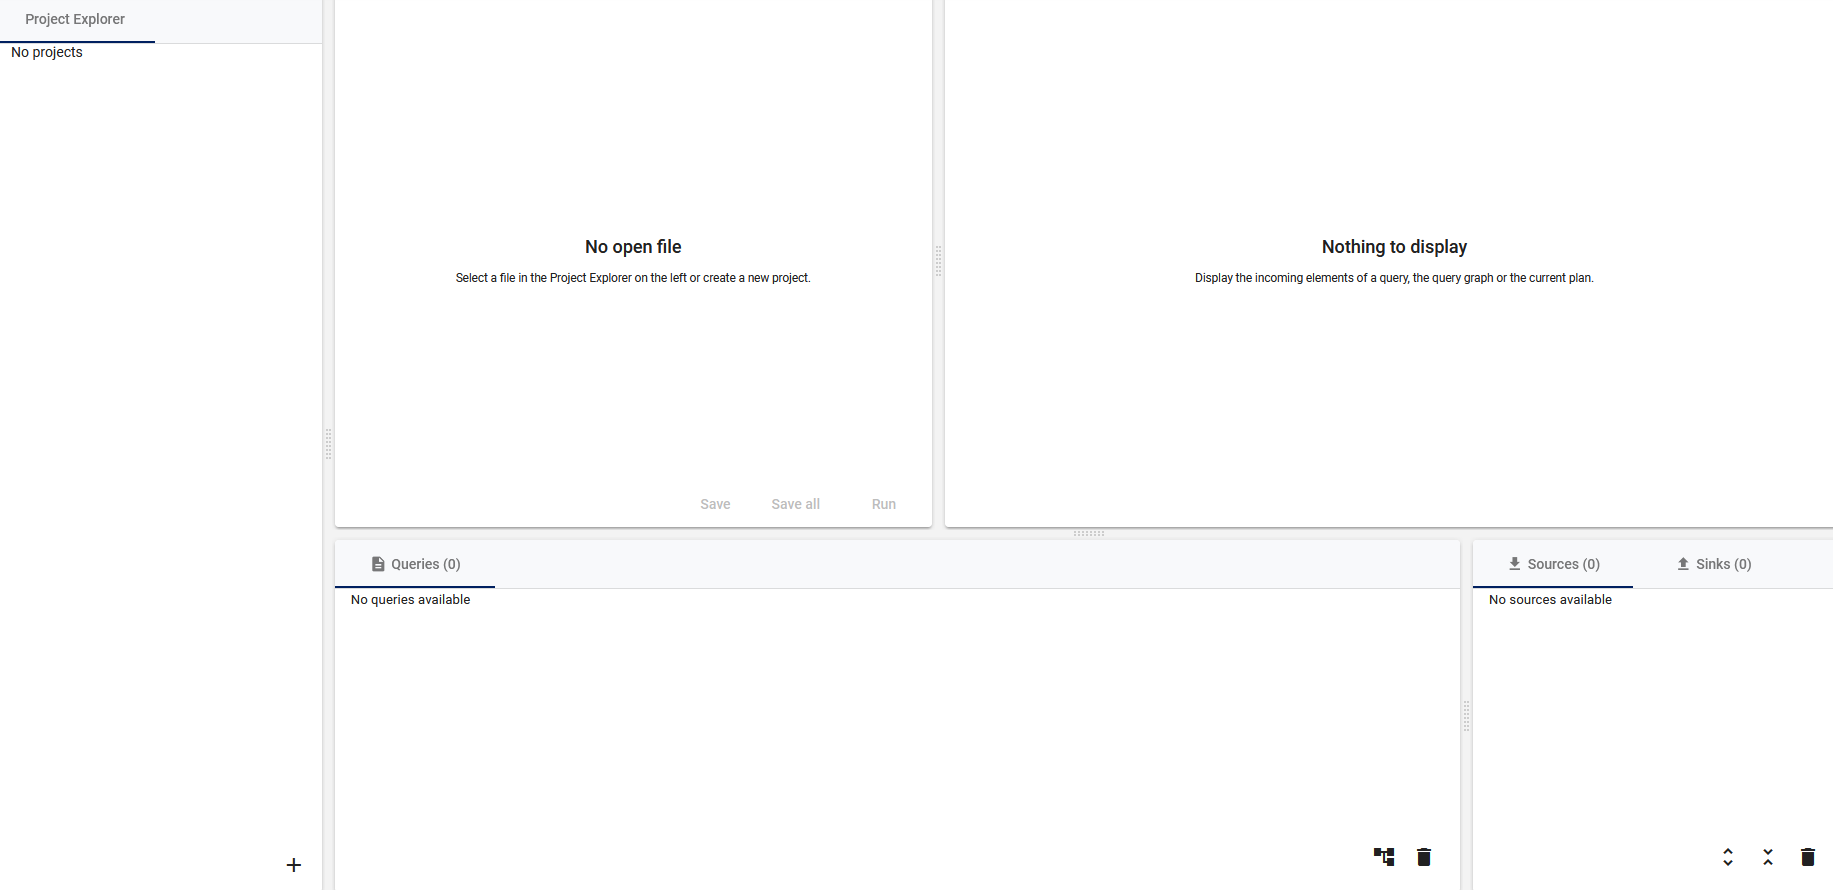
Web-IDE
Web-Studio provides an IDE for query development (quite simpler than the corresponding Odysseus Studio)
Remark: In case of problems, a corrupted local storage could be the reason. So, in this case is always a good idea to delete the local storage (e.g. for firefox or chrome). Sometimes, this is only successful, if webstudio is stopped.
Currently, there could be some problems, when running den WebStudio on a Mac (especially an M1). In this case, a better option would be to run the WebStudio on a linux based pc. Access can be done from MaxOS without any problems.
Installation
The following information is directly included from: https://git.swl.informatik.uni-oldenburg.de/projects/API_APPS/repos/webstudio/browse
Webstudio
Official webclient for managing and organizing multiple Odysseus-Server.
Run with Docker
You need to have Docker Compose installed. It is shipped with Docker Desktop.
Run with official Images
You can run the Webstudio with the official images on Docker Hub. There are images for the frontend and for the backend.
You need to place the file docker-compose.yml under docker-compose.yml on your filesystem. After that you can run docker-compose up from an terminal in the directory you placed the docker-compose.yml. This will download all necessary images and will create an docker network to run the Webstudio. After the startup you can access the Webstudio on http://localhost:4200/.
Important: When using webstudio with linux, you will need to create some folders BEFORE running docker-compose:
If you checked out this repository you can also switch to folder deploy and just run docker-compose up from there.
Remark: You can also use the latest development versions. For this, change inside the docker-compose file the image tag from latest to dev-latest or use this file docker-compose.yml
Run in development
If you want to make changes to the source files and then run the Webstudio with Docker Compose, you just need to run docker-compose up --build from the root directory.
This will build the images for the backend and frontend based on the source files. You can edit the Dockerfiles for each and build your own images.
Please have a look at the official docker documentation for further information about docker.
Contribute information
The Webstudio consist of an backend and an frontend. See below for more informations on how to contribute.
Prerequisites
Node.js
To contribute an develop you need to have Node.js installed. Its recommended to use the last long time support (LTS) release
but its also compatible with at least 18.14.x which is also an LTS release. Node.js is used to run the development server for frontend and backend. Node.js is shipped with the packet manager npm which is used to manage the dependecies of the Webstudio.
MongoDB
To persist the data the backend uses MongoDB. To install MongoDB locally follow the steps in the official documentation. The Webstudio was tested and developed with MongoDB 6 Community Edition.
You could also use the compose file inside the folder dev-mongo to install/start mongo for development
Odysseus
In folder odysseus-example is an example for some Odysseus nodes that can be used for testing.
Angular
You should install angular cli
npm install -g @angular/cli
Frontend
The frontend was generated with Angular CLI version 15.0.0.
Navigate to the folder frontend to execute the following commands.
Clear local storage
The frontend uses states which are persisted in the local storage of your browser. If you switch between Webstudio instances (eg. from production to development) you should clear the local storage of your browser to avoid errors.
Development server
The first time you have to run npm install to install the dependencies. If you use Windows you might have to run npm install --unsafe-perm if the process gets stuck.
If all dependencies are installed you can run npm start or ng serve for a dev server.
Navigate to http://localhost:4200/. The app will automatically reload if you change any of the source files.
Code scaffolding
Run ng generate component component-name to generate a new component. You can also use ng generate directive|pipe|service|class|guard|interface|enum|module.
Build
Run ng build to build the project. The build artifacts will be stored in the dist/ directory. Use the --prod flag for a production build.
Running unit tests
Run ng test to execute the unit tests via Karma.
Running end-to-end tests
Run ng e2e to execute the end-to-end tests via Protractor.
Further help
To get more help on the Angular CLI use ng help or go check out the Angular CLI README.
Backend
Navigate to the folder backend to execute the following commands.
Development server
The first time you have to run npm install to install the dependencies. If you use Windows you might have to run npm install --unsafe-perm if the process gets stuck.
If all dependencies are installed you can run npm start for a dev server. The app will automatically reload if you change any of the source files.
License
Licensed under the Apache License, Version 2.0. For further information view LICENSE