Tutorial: Simple Query Processing
In this tutorial you will learn elementary steps in using Odysseus.
Step 1: Install/Start Nexmark
As sources we will use the Nexmark examples source. See Getting Started with Nexmark for the installation of the nexmark server.
Step 2: Install/Start Odysseus
For this example you should use the standard Odysseus Studio (Odysseus Server + Odysseus Studio Client) (See How to install Odysseus).
Step 3: Create a new project
Create a new project: FirstSteps
...
The new project is shown in the project explorer (hint if you do not see the project explorer, use Window/Show View/Other ... and choose General/Project Explorer).
Step 4: Describe sources
The queries will access sources that deliver events. In our example we will connect to the already started nexmark server. In this examples we will use PQL to create the sources. For detailed information about source definitions see The Odysseus Access Operator Frameworkframework
There are different ways to created sources/queries in Odysseus. We will use the Odysseus Script way.
...
Give the script a name, e.g. NexmarkSources, and choose Next
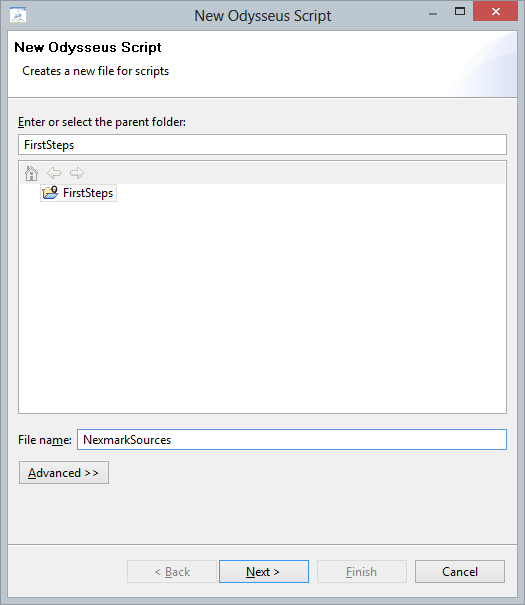
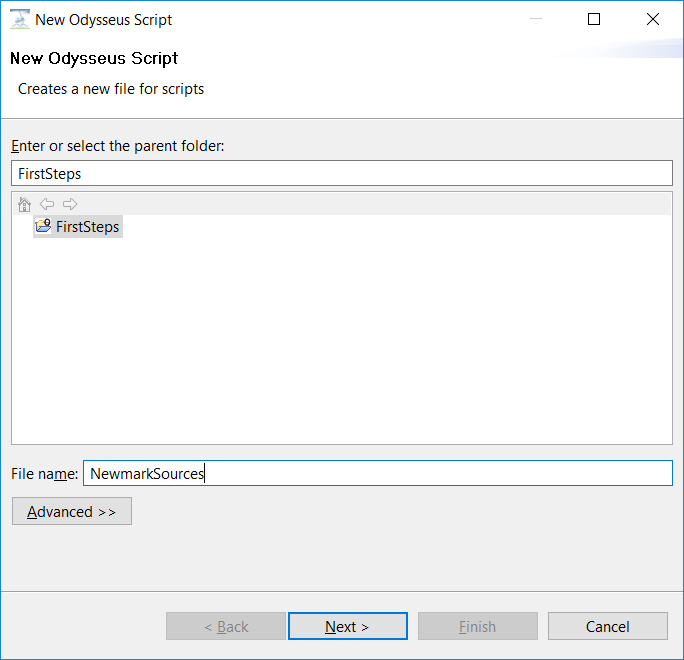
There a different templates that can be used: Choose PQL Basic, and click on Finish.
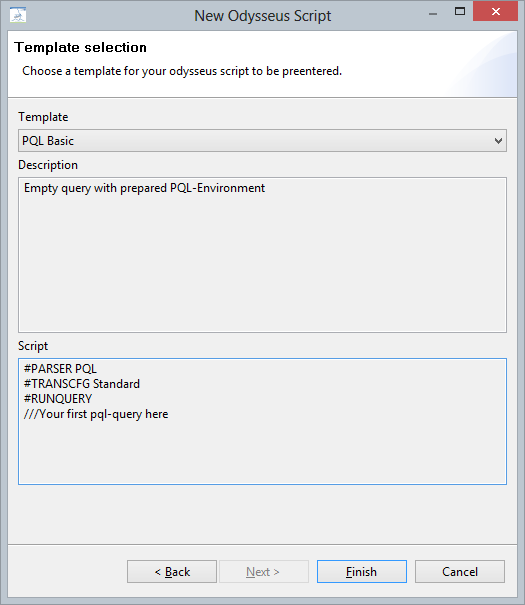
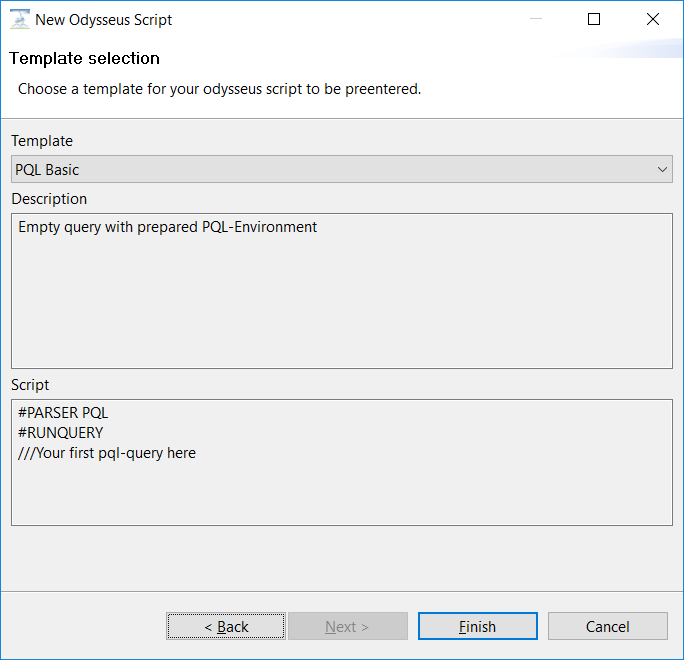
A new editor window will open as following:
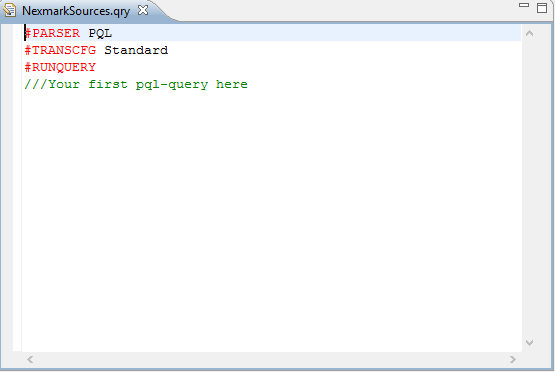
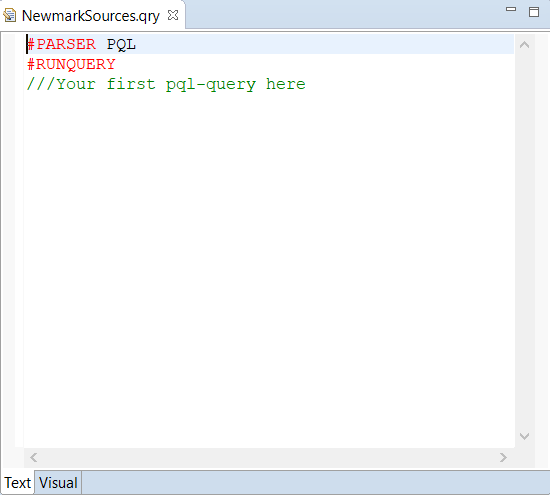
Now we have to tell Odysseus, how to access the different sources (person, bid, auction and category).
Start with person by typing the following in to the new editor (below #RUNQUERY):
| Code Block |
|---|
nexmark:person ::= ACCESS({source='nexmark:person',
    wrapper='GenericPush',
    transport='TCPClient',
    protocol='SizeByteBuffer',
    dataHandler='Tuple',
    options=[
        ['host', 'localhost'],
        ['port', '65440'],
        ['ByteOrder', 'LittleEndian']
        ],
    schema=[
        ['timestamp', 'STARTTIMESTAMP'],
        ['id', 'INTEGER'],
        ['name', 'STRING'],
        ['email', 'STRING'],
        ['creditcard', 'STRING'],
        ['city', 'STRING'],
        ['state', 'STRING']
        ]
}) |
...
There are two types of parameters here. The first part is the physical connection to the server (We will not describe all parameters here (see The Odysseus Access Operator Frameworkframework for further information).If you have started the nexmark server on another machine change 'host' and if you started the person server on another port change 'port'.) and the seconds part describes the information this souces delivers.
...
There are different build in datatypes available in Odysseus (see The Odysseus Access Operator Frameworkframework for further information). If the sources provides application time (as the nexmark server does), the datatype STARTTIMESTAMP can be used to state that a LONG value should be used as timestamp for this event.
...
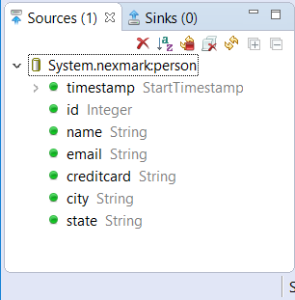
If all is correct, there will be a new source and an access operator in the source-view.
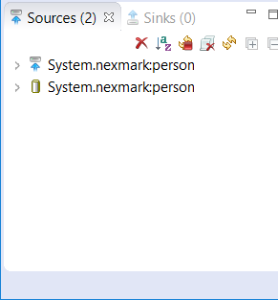
You can use the arrow to show more information about the sources.
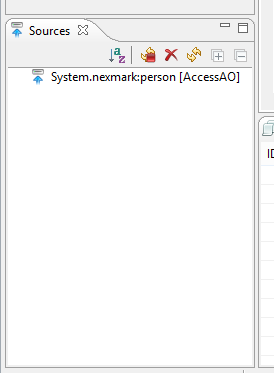
Now remove the source sources again by clicking on the 
![]() symbol. It will remove all current sourcessources. will remove the current marked source. A single source can be removed by right clicking on that source and choosing: Drop Source, too.
symbol. It will remove all current sourcessources. will remove the current marked source. A single source can be removed by right clicking on that source and choosing: Drop Source, too.
The other sources are created the same way. To go further, add the following to the NexmarkSource editor (after the definition of the person source) and execute the script.
| Code Block |
|---|
#RUNQUERY nexmark:bid ::= ACCESS({source='nexmark:bid', wrapper='GenericPush', transport='TCPClient', protocol='SizeByteBuffer', dataHandler='Tuple', options=[ ['host', 'localhost'], ['port', '65442'], ['ByteOrder', 'LittleEndian'] ], schema=[ ['nexmark:bid','timestamp', 'STARTTIMESTAMP'], ['nexmark:bid','auction', 'INTEGER'], ['nexmark:bid','bidder', 'INTEGER'], ['nexmark:bid','datetime', 'LONG'], ['nexmark:bid','price', 'DOUBLE'] ] }) #RUNQUERY nexmark:auction ::= ACCESS({source='nexmark:auction', wrapper='GenericPush', transport='TCPClient', protocol='SizeByteBuffer', dataHandler='Tuple', options=[ ['host', 'localhost'], ['port', '65441'], ['ByteOrder', 'LittleEndian'] ], schema=[ ['timestamp', 'STARTTIMESTAMP'], ['id', 'INTEGER'], ['itemname', 'STRING'], ['description', 'STRING'], ['initialbid', 'INTEGER'], ['reserve', 'INTEGER'], ['expires', 'LONG'], ['seller', 'INTEGER'], ['category', 'INTEGER'] ] }) #RUNQUERY nexmark:category ::= ACCESS({source='nexmark:category', wrapper='GenericPush', transport='TCPClient', protocol='SizeByteBuffer', dataHandler='Tuple', options=[ ['host', 'localhost'], ['port', '65443'], ['ByteOrder', 'LittleEndian'] ], schema=[ ['id', 'INTEGER'], ['name', 'STRING'], ['description', 'STRING'], ['parentid', 'INTEGER'] ] }) |
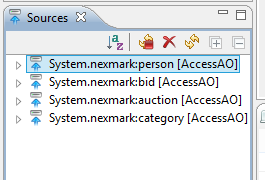
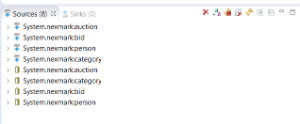
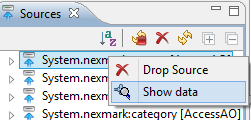
After that you see a list of four sources and access operators in the source view:
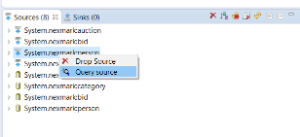
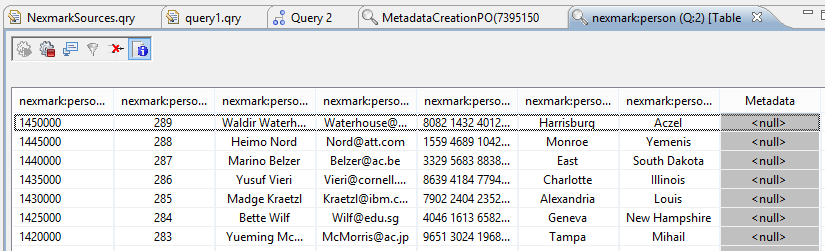
To test, if everthings is connected correctly, right click on System.nexmark:person and choose Show data:"Query Source"
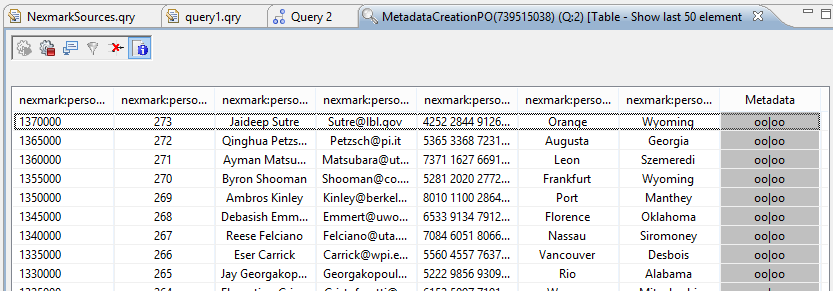
A new window should with person events should open. If your using the standard configuration of nexmark, it takes 5 seconds before the first event occures. Then every 5 second a new person will be shown.Your window should look somehow like this:
...
If you choose show data again, the source will be beginning from start(but only if no other connection to the nexmark-server is open, e.g. via bids).
Step 5: Formulating Queries
Now we are ready to formulate queries over the nexmark sources. Queries in Odysseus are data pipelines. Every operator is responsible for a single subtask in the processing. It receives data from the operator nearer to the source and sends its output to all connected output operators (subscriber). In the following you will see simple examples of processing pipelines.
For this, create a new Odysseus Script file named query1 the same way as above.
...
The current query should look like in the following:
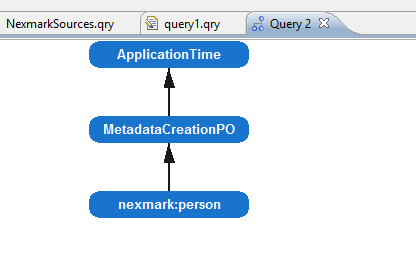
You will only Here you can see, that there is a difference between the logical query (in PQL) and the real physical query. The logical has only one operator, the phyiscal three.
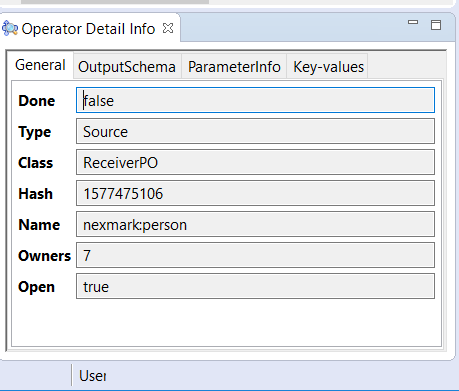
- nexmark:person: Is the access operator that is connected to the source.
- MetadataCreatonPO: appends to each event the empty metadata object that is necessary for processing (e.g. timestamps)
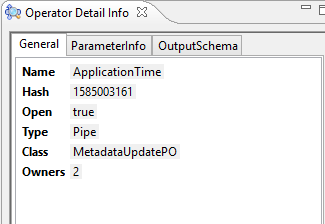
- ApplicationTime: uses the information from the schema description. In this case you can see (if you look at the table above) that it updates the starttimestamp of each element. the first column contains the timestamp that is delivered from the nexmark-server and the last column contains the updated interval (the end timestamp is still on infinity)
a single operator, representing the access to the nexmark:person source.
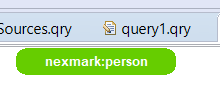
You can right click on (each) operator in the view to see the data that this operator is currently processing . If you choose the values from MetadataCreationPO the output will be (similar to the following, where you can see, that no metadata is setquery source).
If you choose the output of the nexmark:person, metadata will be <null>

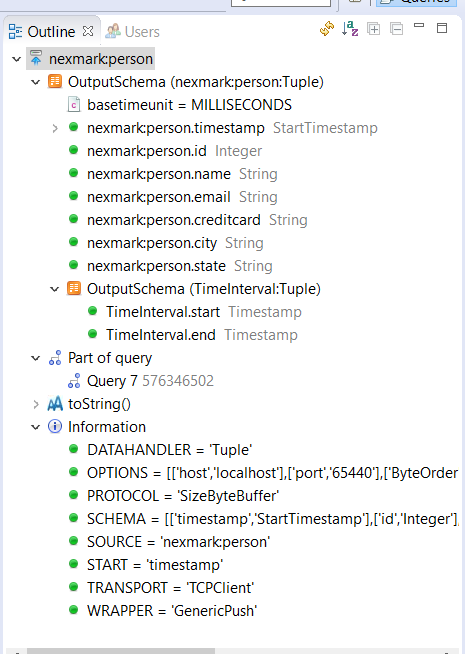
In the Outline-View you can see further information about each operator. Choose the ApplicationTime operator and you will see somehing like:

In the Operator Detail Info View further operator specific information can be found
This was a simple step through. More complex examples can be found in the Tutorials section.