...
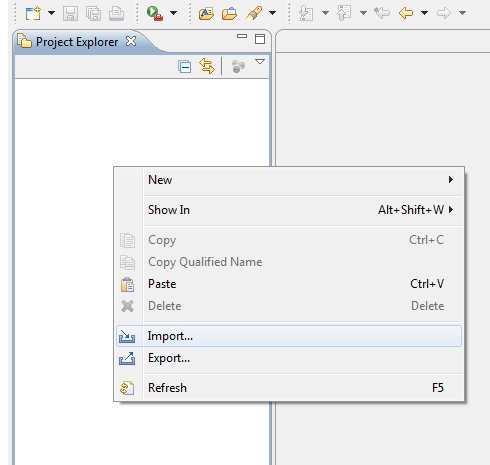
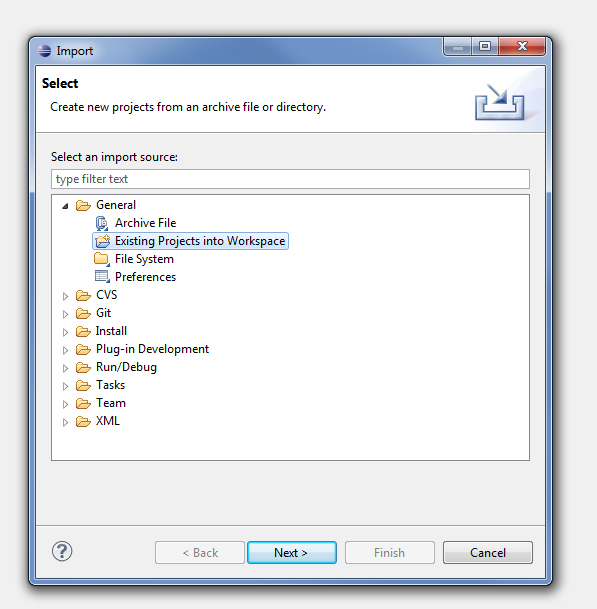
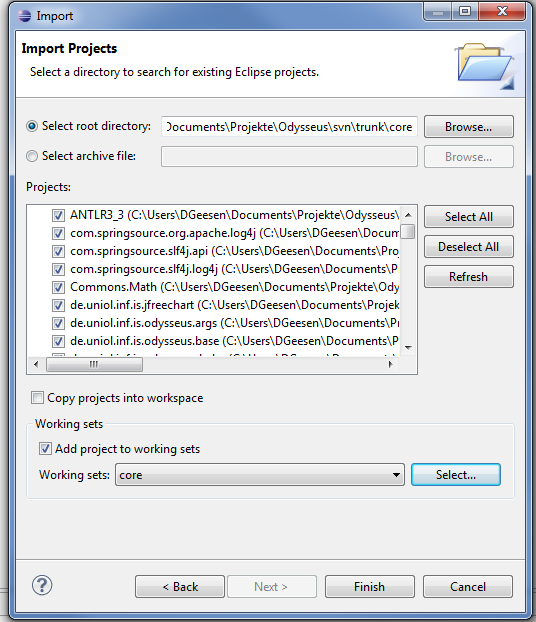
After Eclipse started, you have to import all bundles (these are the parts of odysseus and are equal to a eclipse project). Use "File -> Import -> Existing Projects into Workspace" to import them into Eclipse as follows:

After clicking "Next", select all needed projects. In the follwing screenshot, only core (it is a subfolder) and its bundles are selected.
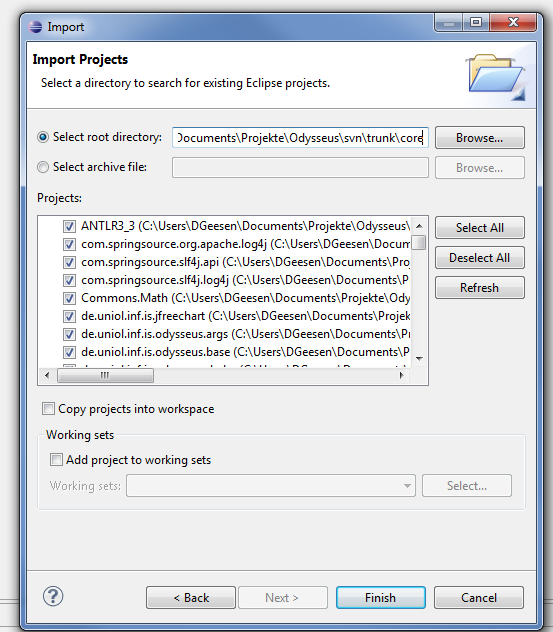
Of couse, depending on the application, it is also possible to select other or even all projects. Each subfolder of trunk normally reflects a special feature, so you can either only import several subfolders/features or all available features if you use trunk as the "Select root directory". However, the core is a minimal set of needed bundles to run odysseus.
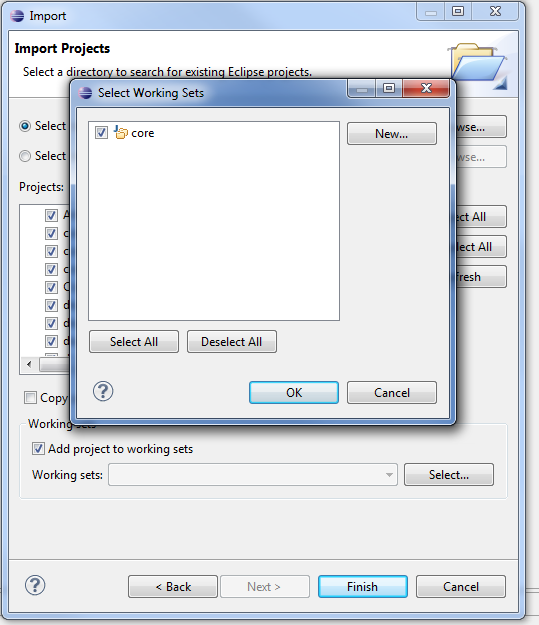
We recommend to create working sets like here:

3. Target Platform
...
This definition is provided via the "target-platform.target" file and can be found in the bundle/project called "de.uniol.inf.is.odysseus.product.platform.featurre". Open this file and click "Set as target platofrm" to use this as your target platform. Notice, the target platform is valid for your whole workspace (therefore we recommend to use a dedicated workspace for Odysseus development).
If you use the test-features, you have to install testNG into your running platform. you have to do the following:
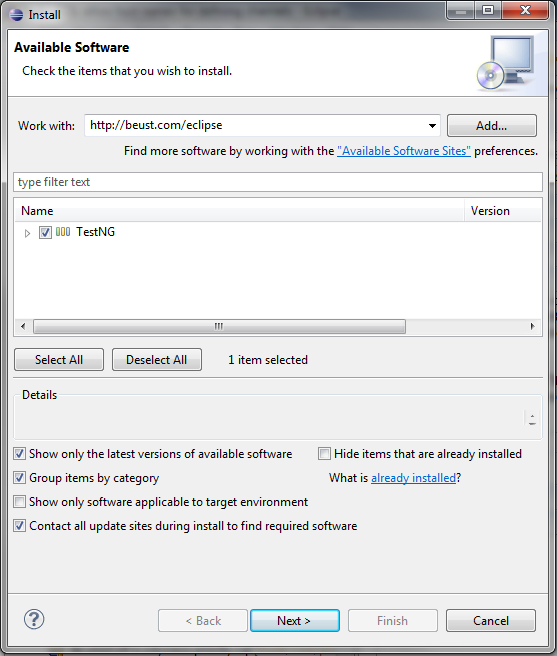
if you need testNG, this feature can be installed through "Help -> Install new Software". Afterwards enter the update site (http://beust.com/eclipse) into the work with field and hit enter.
...