This is a short tutorial that shows how to install Odysseus and how to setup the first time. This tutorial is for persons who just want to use Odysseus for data stream management. For those, who want to develop with Odysseus (e.g. create new operators or extend functionalities), may have a look at Development with Odysseus, which introduces how to import Odysseus into Eclipse.
There are some differences, when using Odysseus on MacOS. See below
1. Prerequisite
First, Java11 must be installed
2. Download Odysseus
Go to Odysseus Website to the Download section. Choose your operating system. Download the archive. (Remark: 32 bit versions are not longer available.)
3. Unzip
Next, you have to unzip the archive. There is no installer nor a dedicated installation directory. Thus, you can choose a destination of your choice (In some cases, Odysseus does not behave correctly, if the installation path is to long. In this case try to install Odysseus to another location).
...
change Xms and Xmx to the needed values. Default is 1000M.
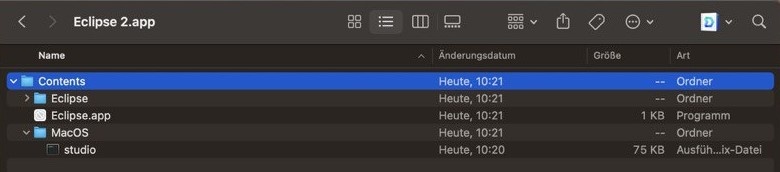
Remark: On MacOS you cannot start the Eclipse.app. You will need to open the app (Show package content) and in the Contents section, move to folder MacOS and open studio. The app is not signed, so you need to relax your security configuration when downloading with Safari. When using Chrome for download, there seems to be no restriction.
5. Choose Workspace
...
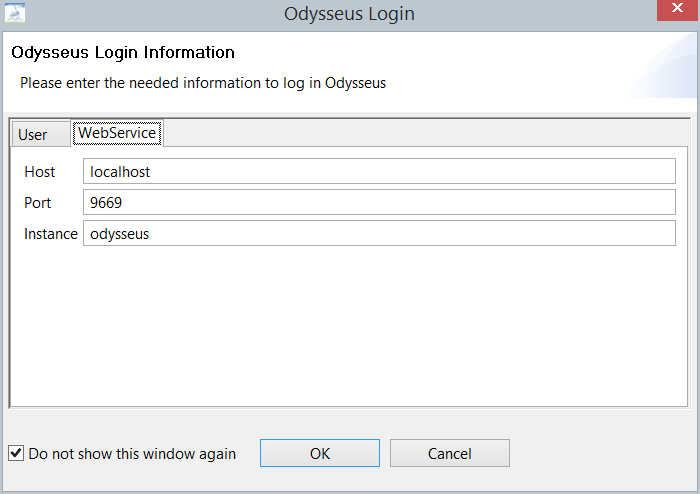
If you are using the client version of studio, the WebService tab must contain information about the Odysseus Server:

After that, Odysseus Studio starts, so you should the the interface:
...
- Odysseus Studio introduces the interface, views and commands
- Run Nexmark Example shows a tutorial how to run an example that is based on the Nexmark benchmark, including a data generator.Hands on Data Stream Processing shows different tutorials how Odysseus can be used in different projects - including special hardware
- See some Use Cases.