...
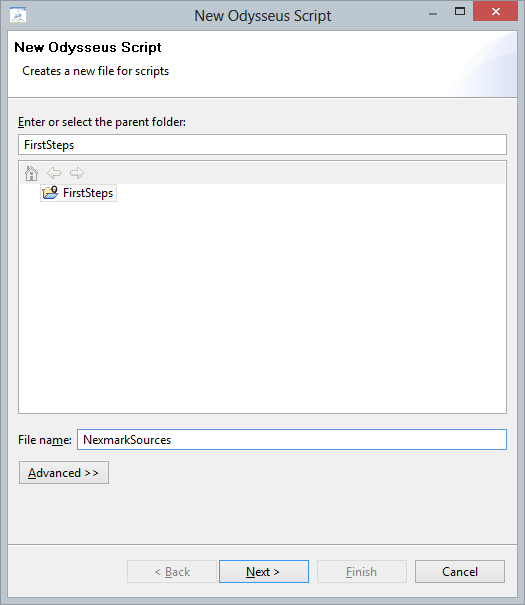
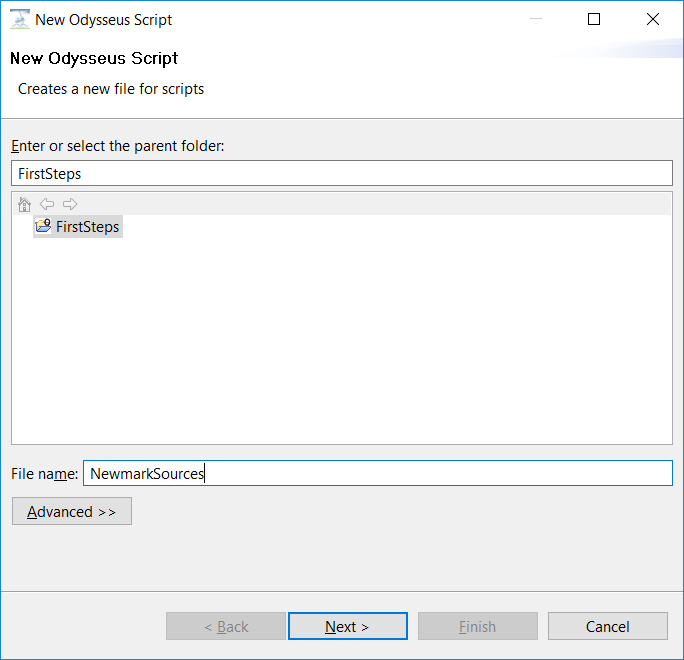
Give the script a name, e.g. NexmarkSources, and choose Next
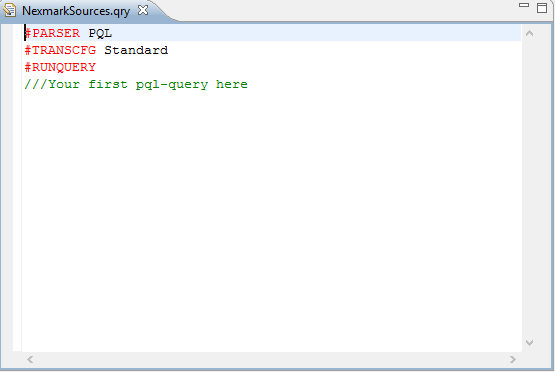
There a different templates that can be used: Choose PQL Basic, and click on Finish.
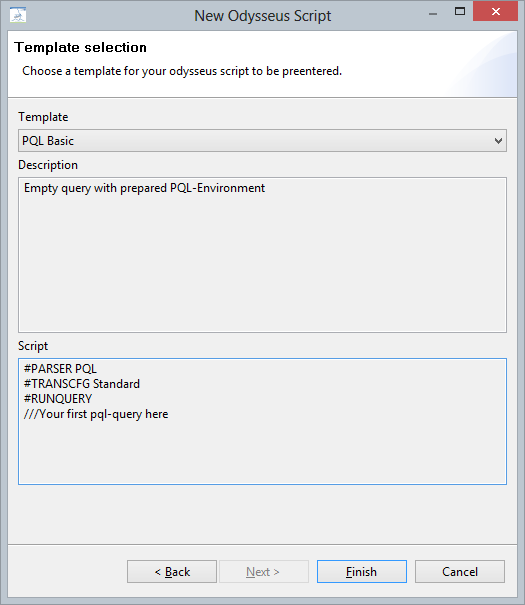
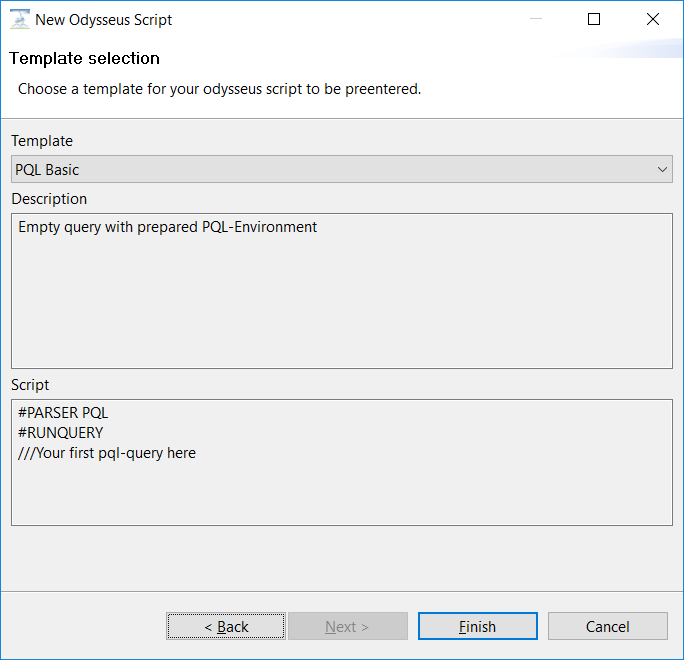
A new editor window will open as following:
Now we have to tell Odysseus, how to access the different sources (person, bid, auction and category).
...
| Code Block |
|---|
nexmark:person ::= ACCESS({source='nexmark:person',
    wrapper='GenericPush',
    transport='TCPClient',
    protocol='SizeByteBuffer',
    dataHandler='Tuple',
    options=[
        ['host', 'localhost'],
        ['port', '65440'],
        ['ByteOrder', 'LittleEndian']
        ],
    schema=[
        ['timestamp', 'STARTTIMESTAMP'],
        ['id', 'INTEGER'],
        ['name', 'STRING'],
        ['email', 'STRING'],
        ['creditcard', 'STRING'],
        ['city', 'STRING'],
        ['state', 'STRING']
        ]
}) |
...
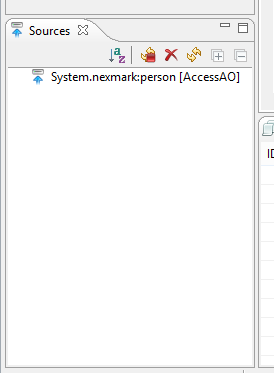
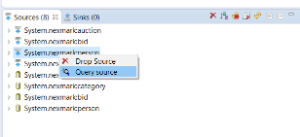
If all is correct, there will be a new source and an access operator in the source-view.
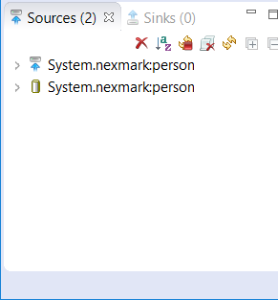
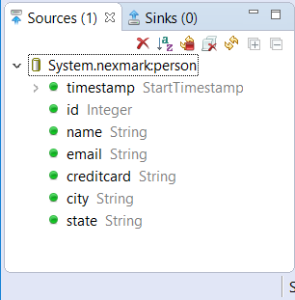
You can use the arrow to show more information about the sources.
Now remove the source sources again by clicking on the 
![]() symbol. It will remove all current sourcessources. will remove the current marked source. A single source can be removed by right clicking on that source and choosing: Drop Source, too.
symbol. It will remove all current sourcessources. will remove the current marked source. A single source can be removed by right clicking on that source and choosing: Drop Source, too.
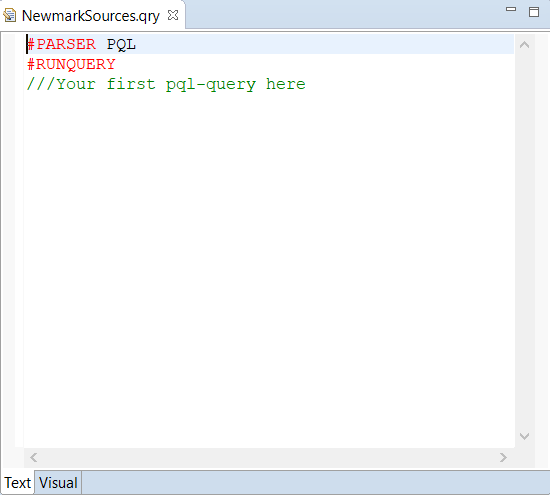
The other sources are created the same way. To go further, add the following to the NexmarkSource editor (after the definition of the person source) and execute the script.
| Code Block |
|---|
#RUNQUERY nexmark:bid ::= ACCESS({source='nexmark:bid', wrapper='GenericPush', transport='TCPClient', protocol='SizeByteBuffer', dataHandler='Tuple', options=[ ['host', 'localhost'], ['port', '65442'], ['ByteOrder', 'LittleEndian'] ], schema=[ ['nexmark:bid','timestamp', 'STARTTIMESTAMP'], ['nexmark:bid','auction', 'INTEGER'], ['nexmark:bid','bidder', 'INTEGER'], ['nexmark:bid','datetime', 'LONG'], ['nexmark:bid','price', 'DOUBLE'] ] }) #RUNQUERY nexmark:auction ::= ACCESS({source='nexmark:auction', wrapper='GenericPush', transport='TCPClient', protocol='SizeByteBuffer', dataHandler='Tuple', options=[ ['host', 'localhost'], ['port', '65441'], ['ByteOrder', 'LittleEndian'] ], schema=[ ['timestamp', 'STARTTIMESTAMP'], ['id', 'INTEGER'], ['itemname', 'STRING'], ['description', 'STRING'], ['initialbid', 'INTEGER'], ['reserve', 'INTEGER'], ['expires', 'LONG'], ['seller', 'INTEGER'], ['category', 'INTEGER'] ] }) #RUNQUERY nexmark:category ::= ACCESS({source='nexmark:category', wrapper='GenericPush', transport='TCPClient', protocol='SizeByteBuffer', dataHandler='Tuple', options=[ ['host', 'localhost'], ['port', '65443'], ['ByteOrder', 'LittleEndian'] ], schema=[ ['id', 'INTEGER'], ['name', 'STRING'], ['description', 'STRING'], ['parentid', 'INTEGER'] ] }) |
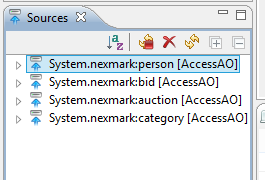
After that you see a list of four sources and access operators in the source view:
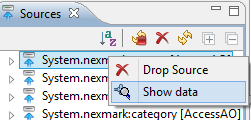
To test, if everthings is connected correctly, right click on System.nexmark:person and choose Show data (New "Query sourceSource"):
A new window should with person events should open. If your using the standard configuration of nexmark, it takes 5 seconds before the first event occures. Then every 5 second a new person will be shown.Your window should look somehow like this:
...
The current query should look like in the following:
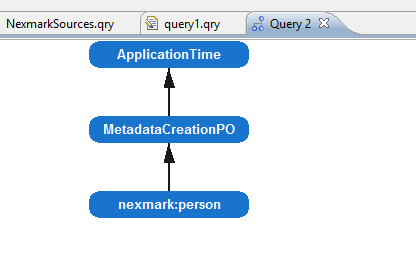
Remark: The image above is only true for older versions. In the current release, only nexmark:person is diplayed.
Here you can see, that there is a difference between the logical query (in PQL) and the real physical query. The logical has only one operator, the phyiscal three.
...
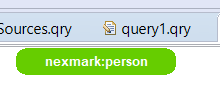
You will only see, a single operator, representing the access to the nexmark:person source.
...
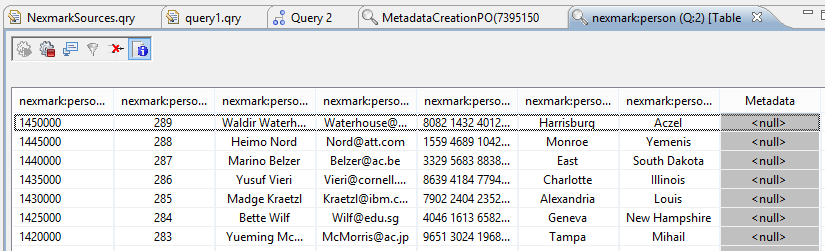
You can right click on (each) operator in the view to see the data that this operator is currently processing . If you choose the values from MetadataCreationPO the output will be (similar to the following, where you can see, that no metadata is set.
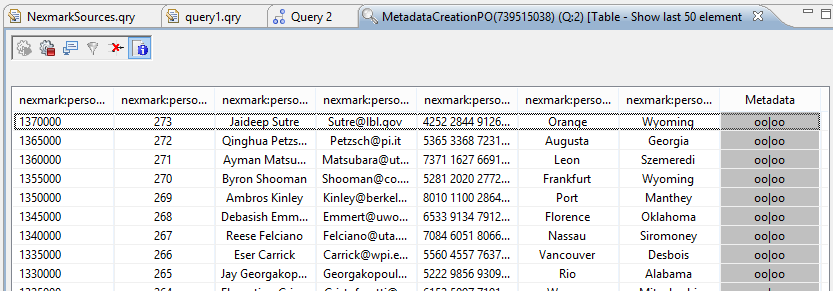
If you choose the output of the nexmark:person, metadata will be <null>
query source).

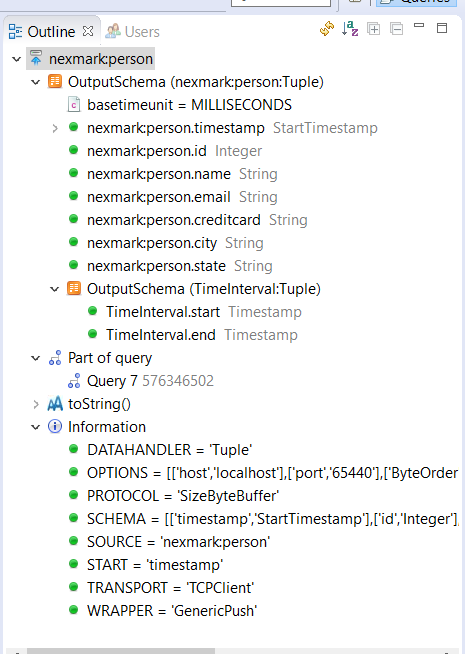
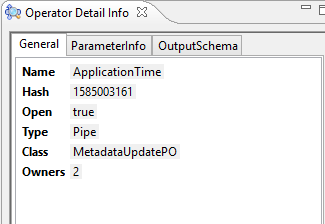
In the Outline-View you can see further information about each operator. Choose the ApplicationTime operator and you will see somehing like:

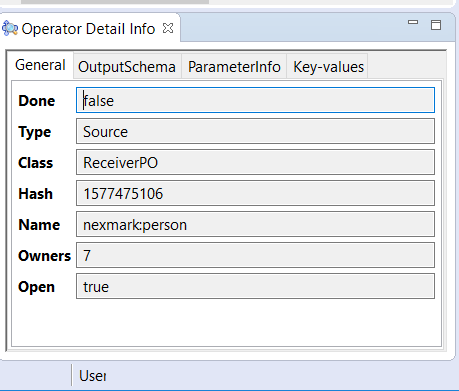
In the Operator Detail Info View further operator specific information can be found
This was a simple step through. More complex examples can be found in the Tutorials section.