ATTENTION: There could be cases, where Odysseus starts with an error like "java.lang.IllegalArgumentException: no such operator: SHUFFLEFRAGMENT." (especially in the first starts) or "java.lang.ArrayIndexOutOfBoundsException: Index 104 out of bounds for length 104". We are working on this problem. Please try to restart!
This is a short tutorial that shows how to install Odysseus and how to setup the first time. This tutorial is for persons who just want to use Odysseus for data stream management. For those, who want to develop with Odysseus (e.g. create new operators or extend functionalities), may have a look at Development with Odysseus, which introduces how to import Odysseus into Eclipse.
There are some differences, when using Odysseus on MacOS. See below
For problems with Dark mode see below.
1. Prerequisite
First, Java 17 must be installed
2. Download Odysseus
Go to Odysseus Website to the Download section. Choose your operating system. Download the archive.
3. Unzip
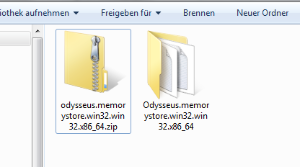
Next, you have to unzip the archive. There is no installer nor a dedicated installation directory. Thus, you can choose a destination of your choice (In some cases, Odysseus does not behave correctly, if the installation path is to long. In this case try to install Odysseus to another location).
Remarks:
- If you want to use the update feature, do not install Odysseus in a shared folder.
- Under windows: Do not use folder "program files".
- Important: Do not use an existing directory, e.g. from an older Odysseus installation! If you want to update, see How to update Odysseus.
After unpacking, you may have something like the following:
4. Start Odysseus
Run "studio.exe" to start Odysseus.
Remark:
- As studio is an Eclipse based application you can raise the memory the same way:
- If an error occurs at start, try to execute
java -versionon a console to see if the right Java version is installed and reachable.
In studio.ini:
-startup
plugins/org.eclipse.equinox.launcher_1.3.100.v20150511-1540.jar
--launcher.library
plugins/org.eclipse.equinox.launcher.win32.win32.x86_64_1.1.300.v20150602-1417
-console
-clean
-nl
en
-data
@noDefault
-vmargs
-Xms1000M
-Xmx1000M
-Dsysredirect=true
-Declipse.p2.mirrors=false
-Declipse.log.level=ERROR
change Xms and Xmx to the needed values. Default is 1000M.
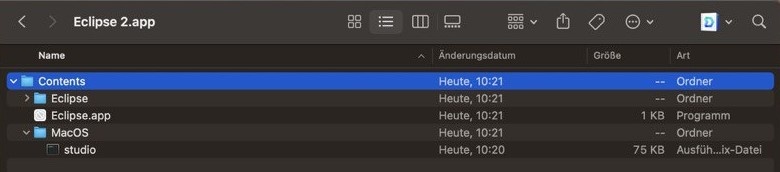
Remark: On MacOS you cannot start the Odysseus Studio.app. You will need to open the app (Show package content) and in the Contents section, move to folder MacOS and open studio. The app is not signed, so you need to relax your security configuration when downloading with Safari. When using Chrome for download, there seems to be no restriction.
If this does not work: You should go to the content folder via termial and change to folder MacOS. If studio has not execution rights you can use: chmod +x studio and run ./studio afterwards. Now Odysseus Studio should start.
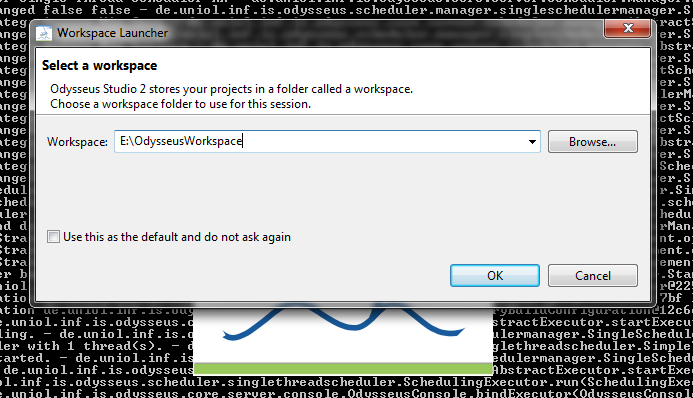
5. Choose Workspace
At the first start, you have to choose a workspace. This workspace is a directory where all Odysseus projects will be stored.You can also check the "Use this as the default.." option so that this dialog will not pop up at the next start of Odysseus.
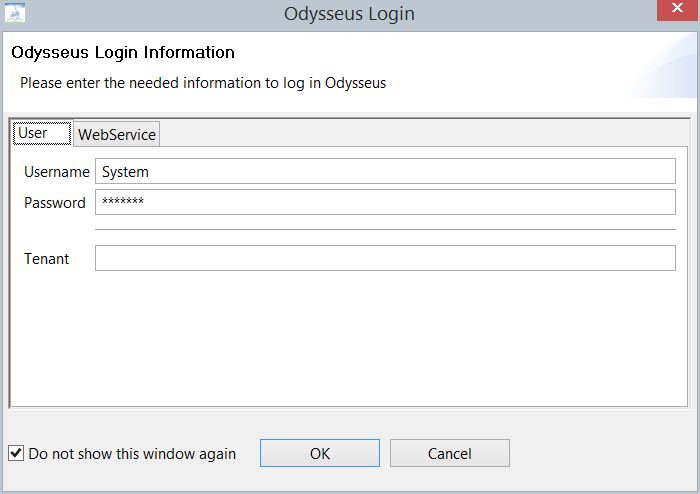
6. Login
Next, Odysseus asks you for a user and a password. The default user is "System" with password "manager". You can also check "Login automatically" so that username and password is saved and used automatically at the next start so you don't have to type in your login data again. In some cases there may be a field "Tenant". For most cases this field should be empty.
If you are using the client version of studio, the WebService tab must contain information about the Odysseus Server:

After that, Odysseus Studio starts, so you should the the interface:
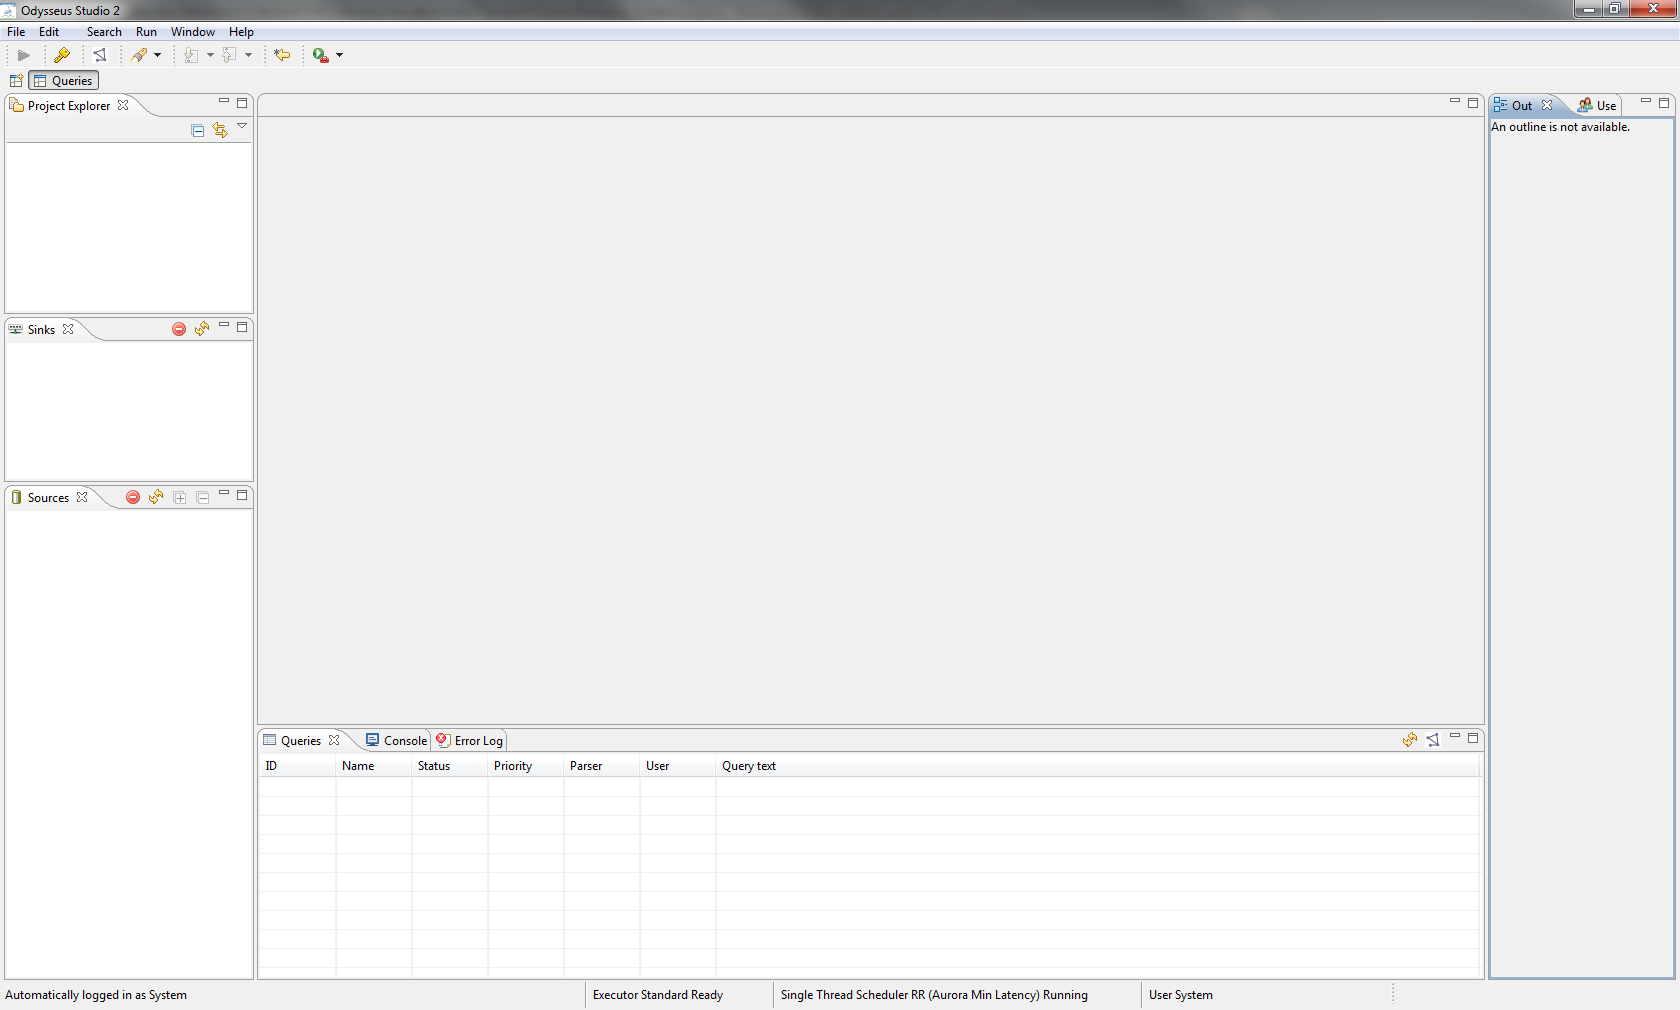
That's all.
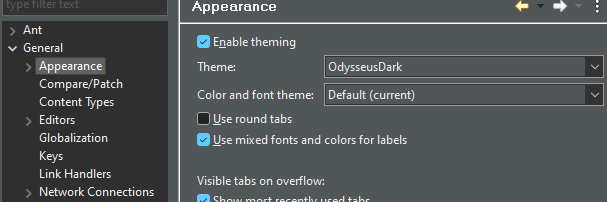
Dark Mode
The default dark mode is not very good suited for Odysseus. We provide special themes (OdysseusDark and OdysseusLight) for this. Just open Window/Preferences and navigate to Appearance:
7. Next steps
You now can use Odysseus. Now, you can, for example, make yourself familiar with Odysseus Studio or you may create or import projects. For further steps, you may have a look at these pages:
- Odysseus Studio introduces the interface, views and commands
- Run Nexmark Example shows a tutorial how to run an example that is based on the Nexmark benchmark, including a data generator.
- See some Use Cases.